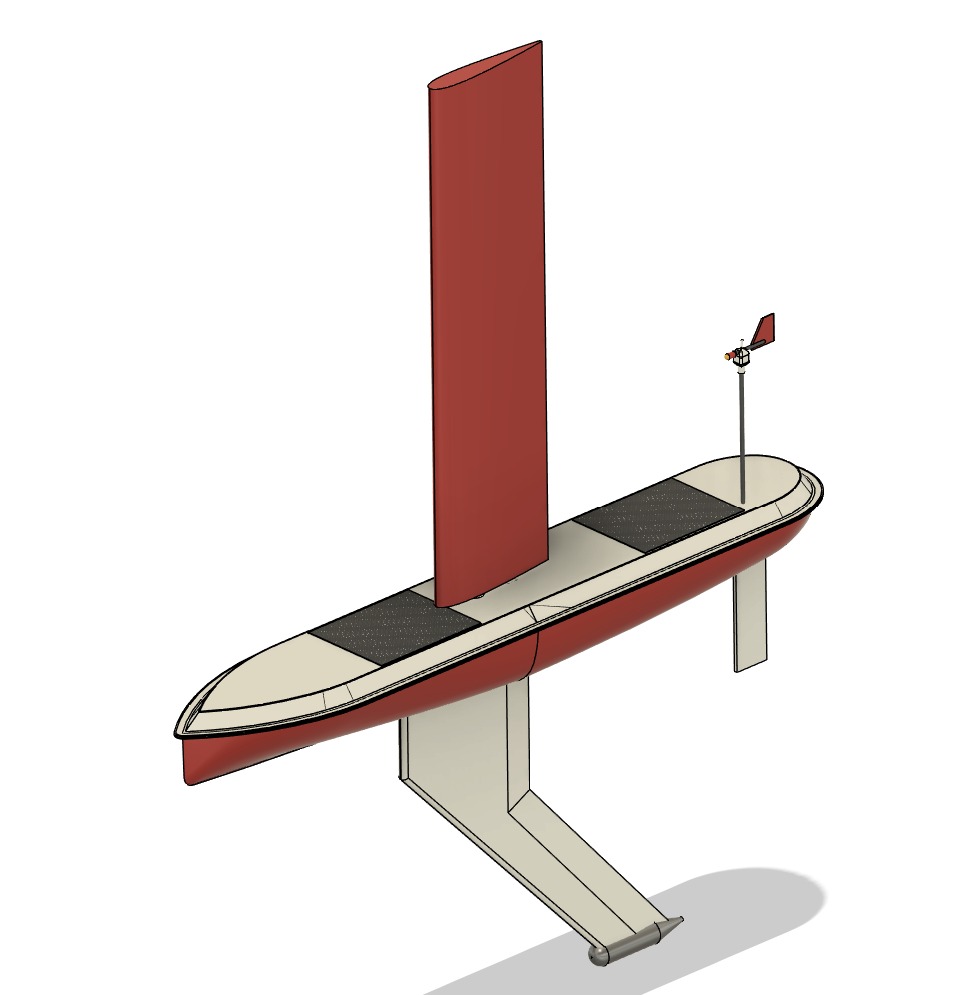
Sailone Curiosity
Sailone Curiosity is an autonomous ocean-going vessel powered entirely by wind. Instead of using a traditional woven-fabric sail, we chose to design and build a vertical rigid wing. Like an aeroplane wing, Sailone's wing uses wind energy to generate lift and propel the vessel through the water.
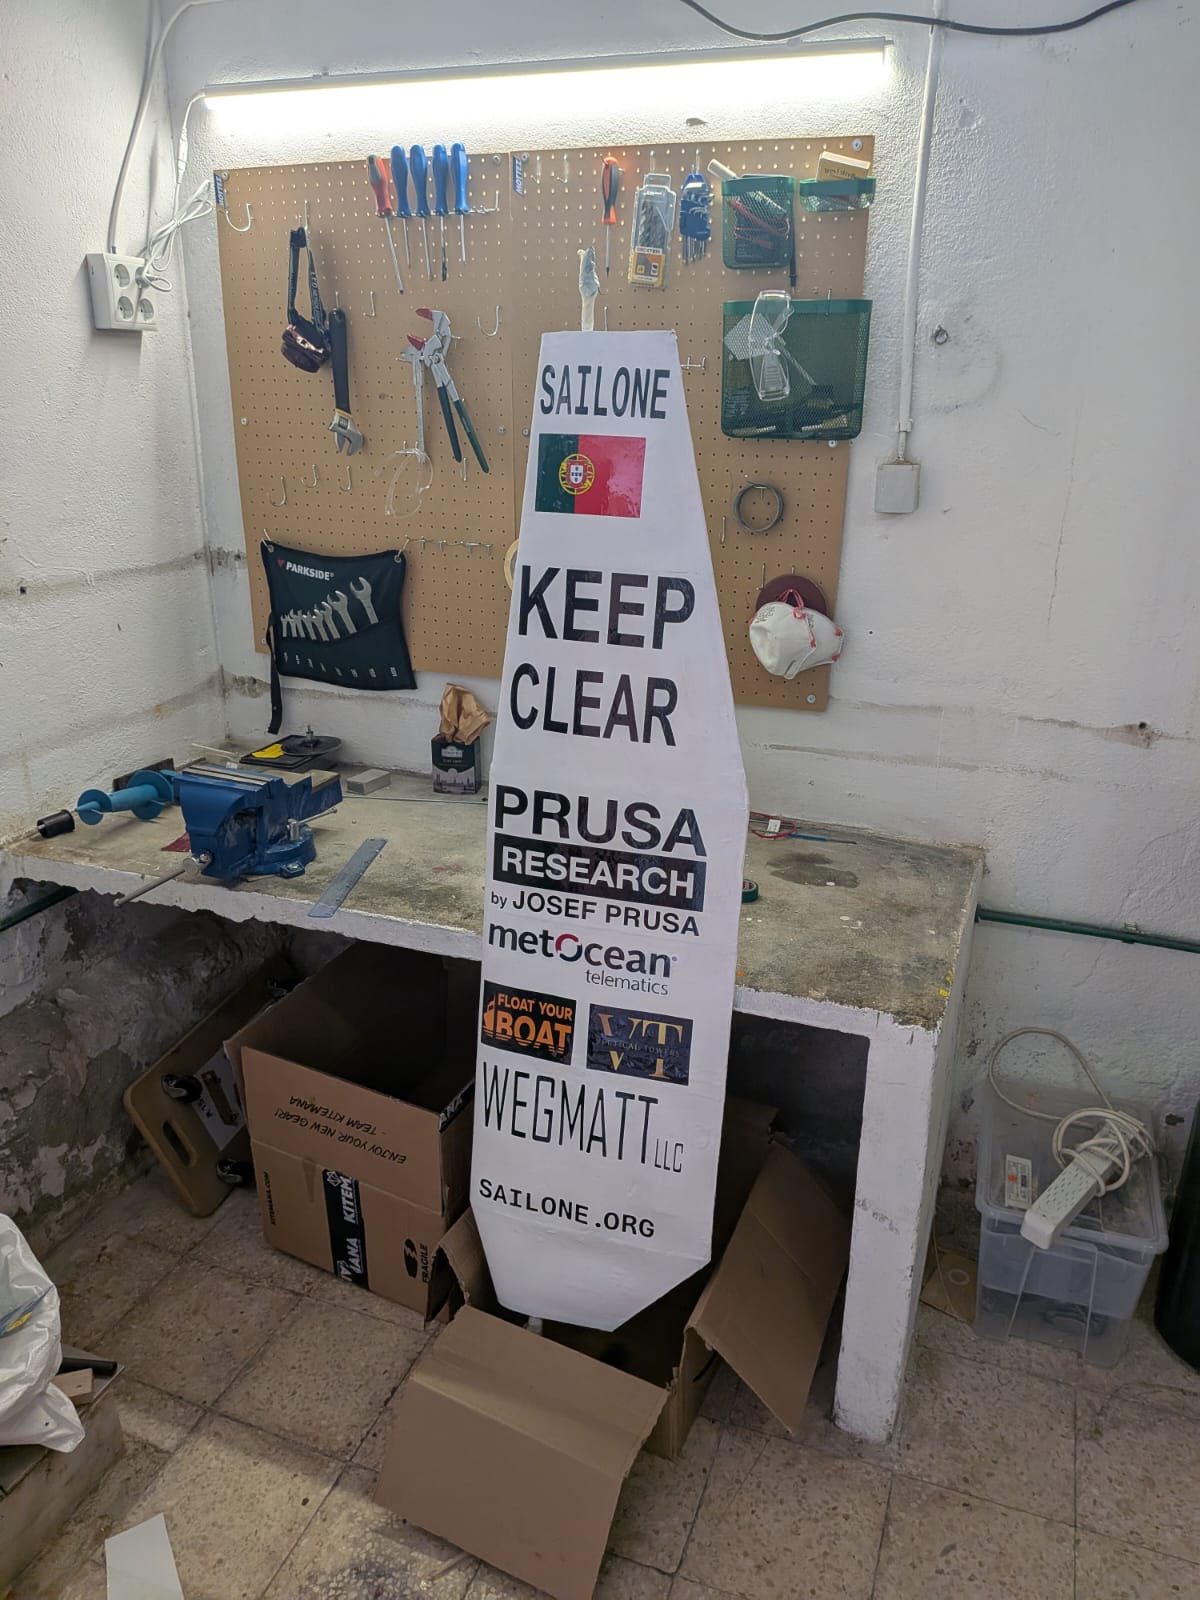
The finished rigid wing
How does it work?
As wind flows over the curved profile of the rigid wing, it moves faster over one side than the other. This difference in airflow speed creates a pressure difference across the wing, generating aerodynamic lift. We positioned the wing so that part of this lift acts in the direction of travel, propelling the vessel forward.
Why a wing?
We chose a rigid wing because it is stronger and more durable than a fabric sail and can provide better aerodynamic performance.
The wing has a thick, double-sided airfoil profile that allows air to flow smoothly around it. Compared with a thin fabric sail, this can reduce flow separation and turbulence and give the wing a higher lift-to-drag ratio. This means more of the aerodynamic force can be used to propel the vessel forward.
The rigid structure also gives us a much stronger sail. Unlike fabric, it cannot rip under normal operating conditions and can withstand much greater loads.
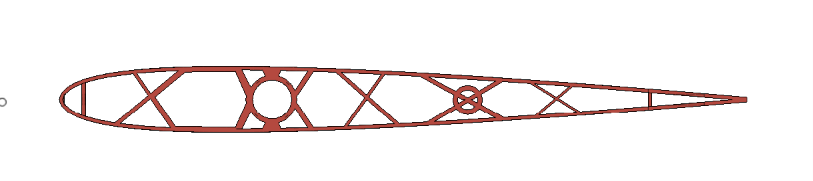
The double-sided airfoil profile
How did we build it?
Components
- Six 3D-printed shells
- Seven 3D-printed carbon-fibre-reinforced polyethylene ribs
- One hollow aluminium pole, x cm long × x cm diameter
- One hollow aluminium pole, x cm long × x cm diameter
- One 3D-printed connector for the two tubes
- One 3 mm-diameter aluminium pole with spiral grooves, 20 cm long
- Drill and cobalt drill bits — 1, 3, 5, and 8 mm
- Sander and Dremel
- 5-minute epoxy
- 1 litre of marine-grade epoxy
- 2 m² of 50 g/m² fibreglass
- Expanding foam
- Sandpaper
3D design: coming soon
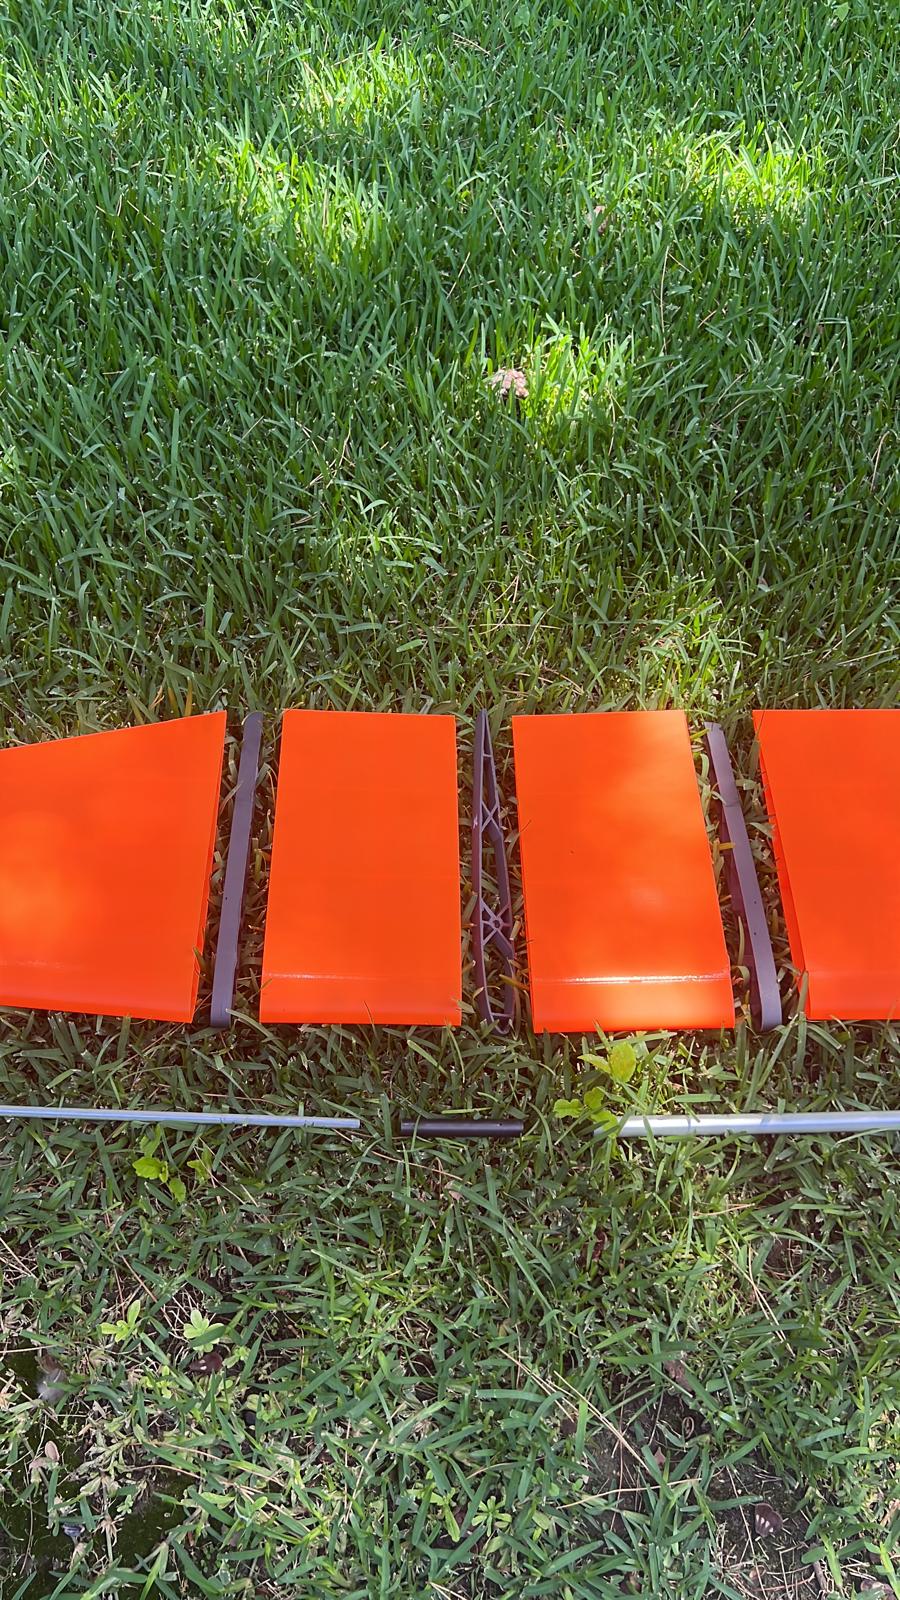
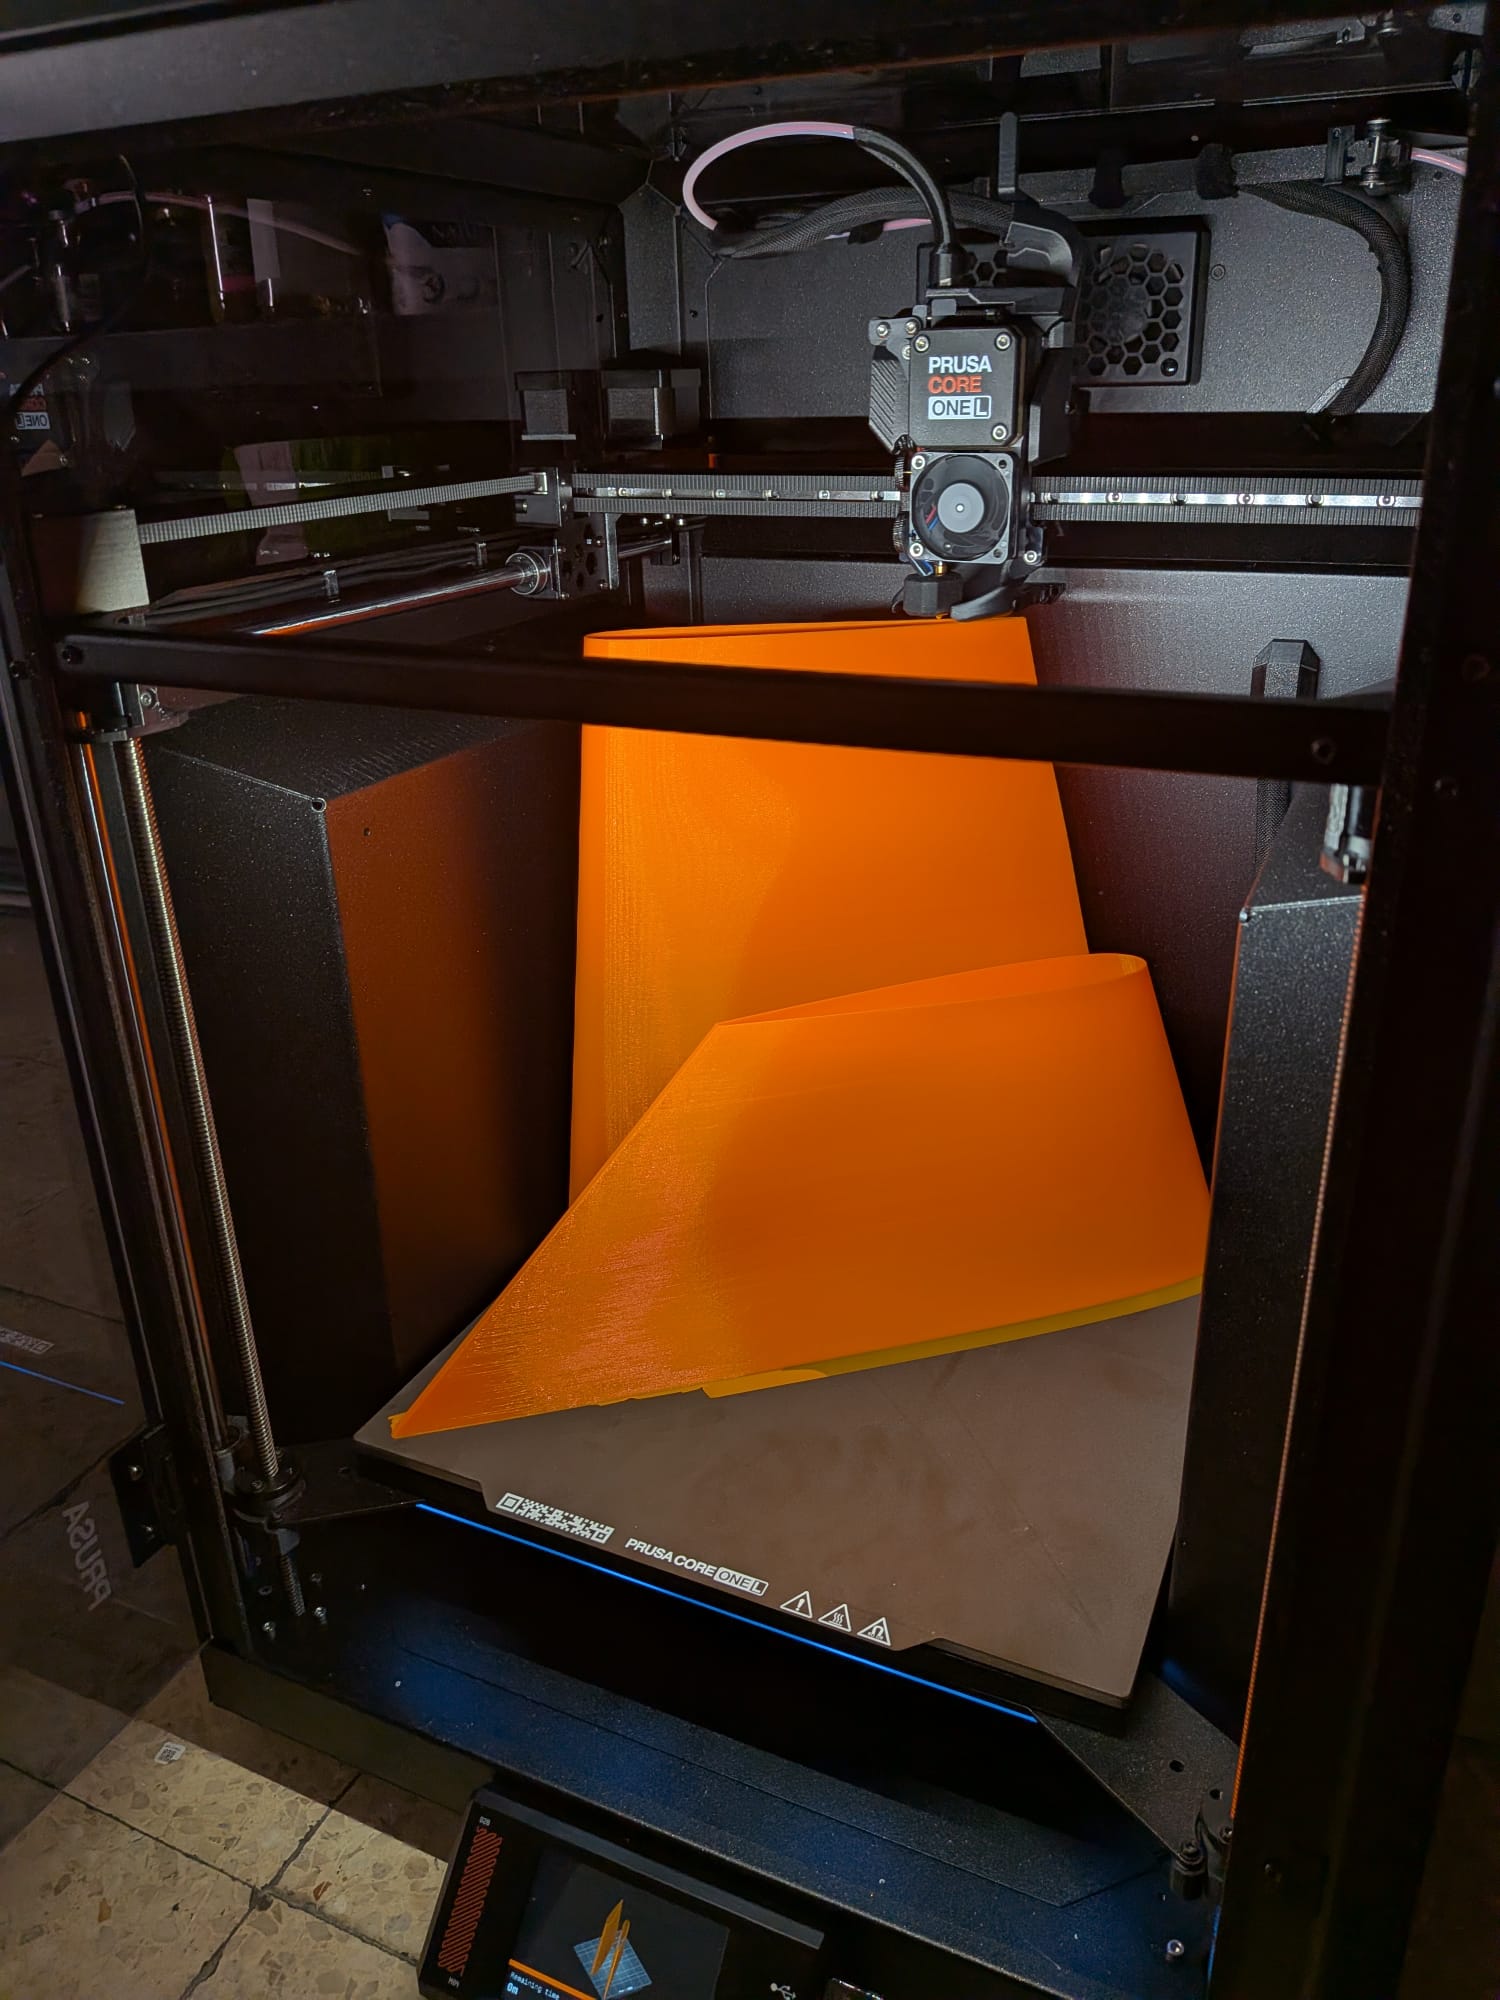
The printed shells, ribs and hardware
Printing and preparing the parts
We printed the shells using Prusament PLA and the ribs using carbon-fibre-reinforced polyethylene(PC-CF). Both materials were generously provided by Prusa Research.
Once the parts were printed, I sanded the inside and outside of the ribs and the inside of the shells to make sure everything fitted properly. Some of the ribs did not fit perfectly because this was our first time printing with carbon-fibre-reinforced polyethylene, so we had to experiment with the printing settings. Where necessary, I used a Dremel to remove around 2–3 mm from the narrow end of the ribs, or sanded the inside of the ribs until they fitted onto the mast.
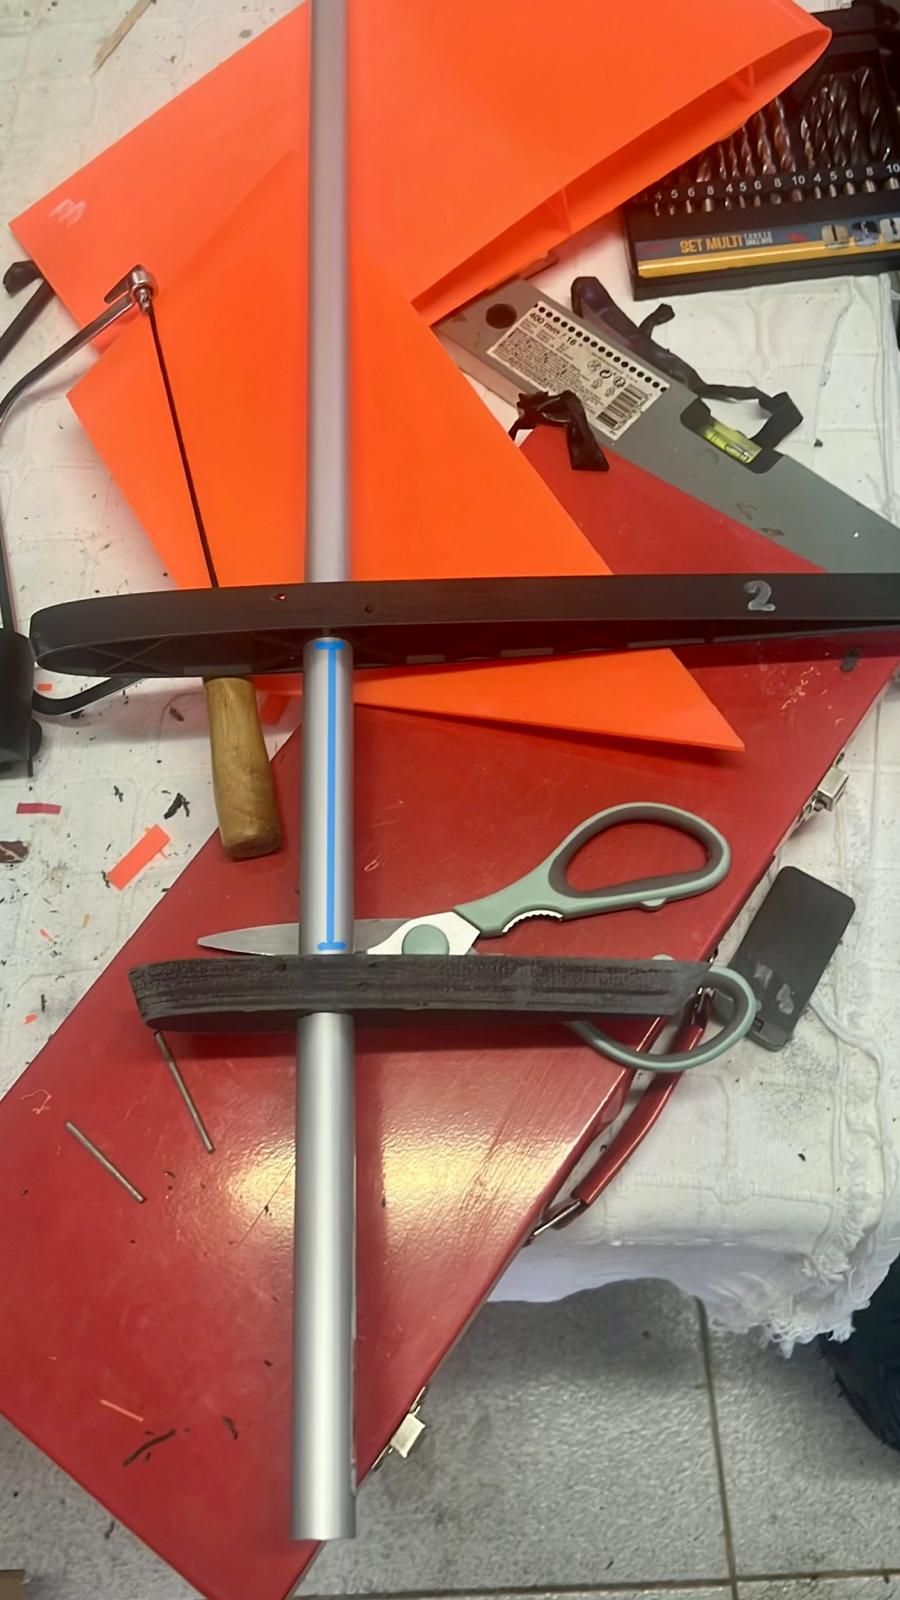
The carbon-fibre-reinforced ribs
Building the frame
I started by sliding the bottom rib onto the x cm-diameter aluminium mast, leaving x cm between the bottom of the rib and the bottom of the mast. I used the pre-drilled holes in the rib to mark the mast with a 1 mm drill bit, then removed the rib and drilled the holes to 3 mm.
I repeated this process for the remaining six ribs, spacing them by sliding the outer shells over them, and making sure they were all positioned at the same angle relative to the mast.
I then built the connection between the two aluminium poles. I coated the end of the smaller pole with 5-minute epoxy and slid the 3D-printed connector over it. I drilled through the pre-drilled holes in the connector and through the aluminium pole, then drilled matching holes in the larger pole.
After coating the outside of the connector with epoxy, I inserted it into the larger aluminium pole. I then cut short sections of the 3 mm-diameter aluminium tube with spiral grooves and used epoxy to secure them through the holes, locking the two poles together.
Because the wing also needed to carry electronics, I had to route six wires through the centre of the mast. After drilling all the holes in the mast but before permanently attaching the ribs with epoxy, I used fishing line to pull the six wires through the inside of the mast. I did this before assembling the wing so that the wires would be safely enclosed inside the mast and still accessible for connecting the electronics.
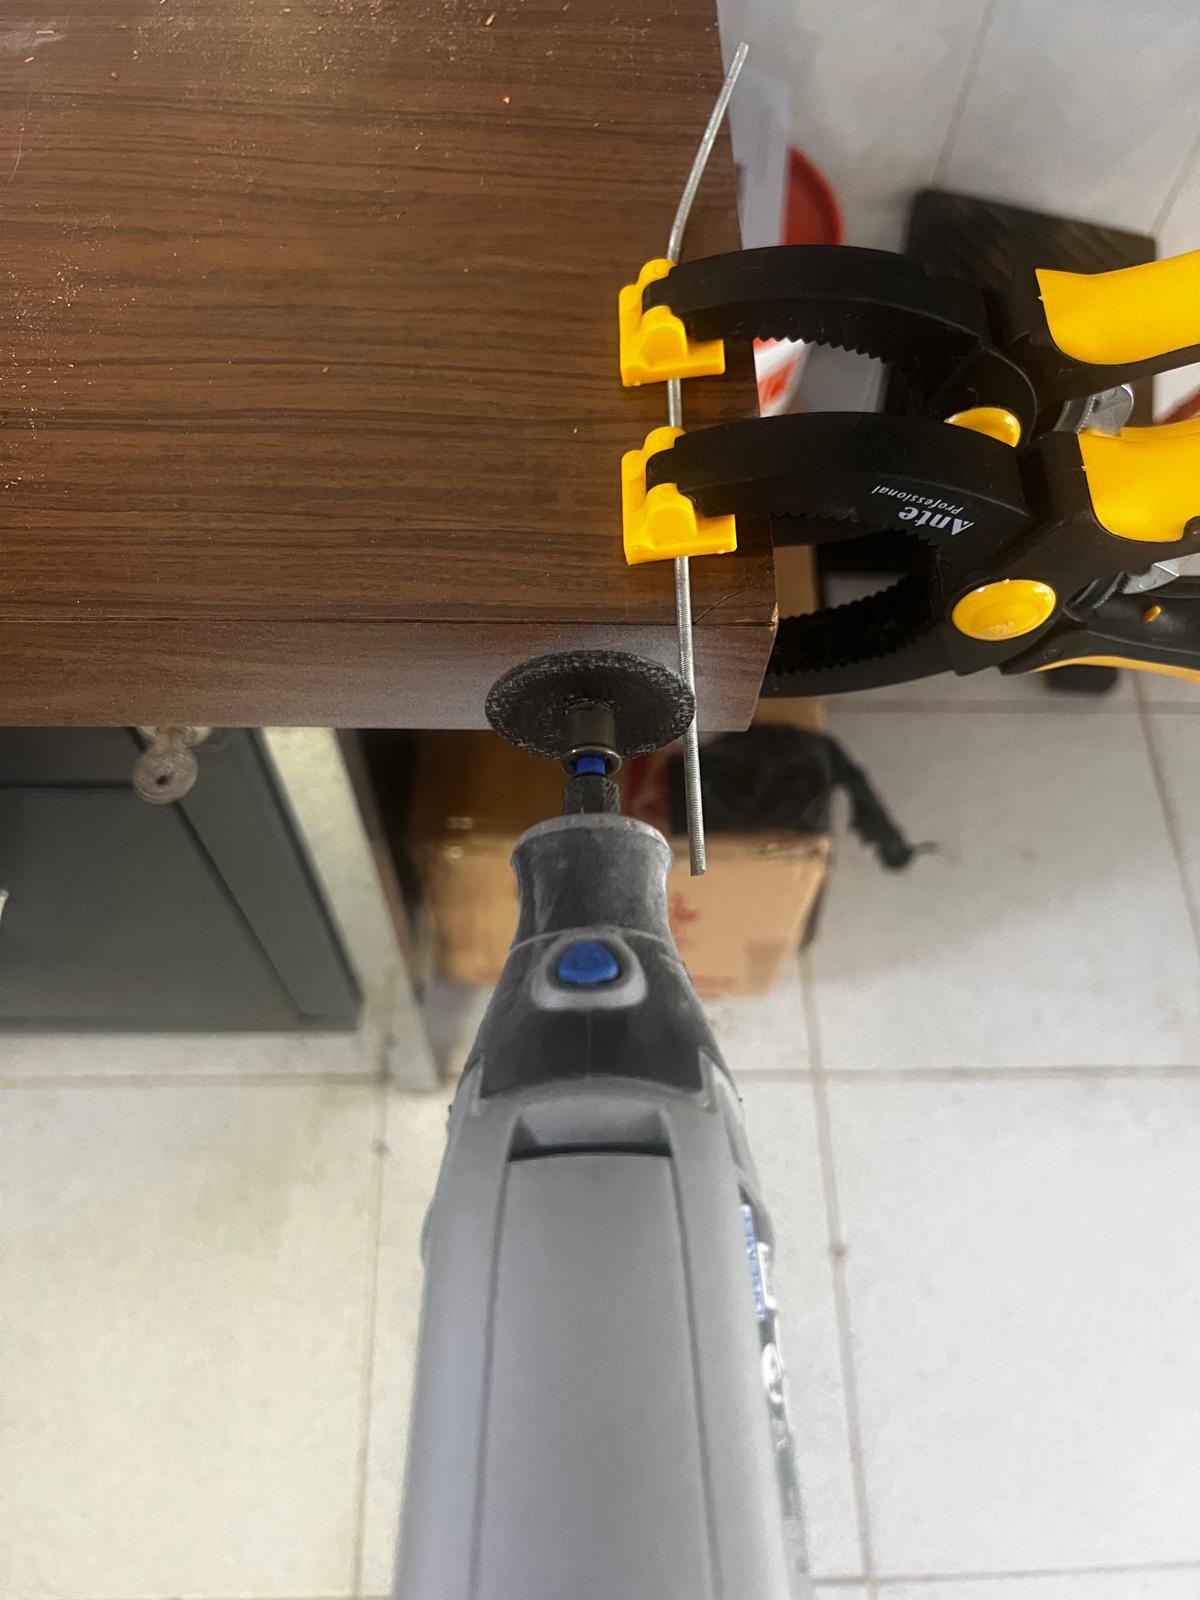
The ribs on the mast and the pole connector
Attaching the shells
Once I had checked the position of all seven ribs, I removed them from the mast and started assembling the wing from the bottom up.
I sanded the section of the mast where the first rib would sit and coated it with 5-minute epoxy. I slid the first rib into place, inserted the 3 mm metal tubes through its holes, and secured them with epoxy.
I then coated the first rib with epoxy and slid the first shell over it. I prepared each following rib in the same way, sliding it into the previous shell before adding the next shell.
To strengthen the structure and prevent the shells from collapsing, I drilled several small holes in each shell and filled them with expanding foam. I filled each shell to around 60%, then held the sides of the shell in place while the foam expanded so that it would not deform the shell. Once the foam had cured, I trimmed away any excess and added more where necessary.
I repeated this process until all six shells were attached. For the upper sections, I epoxied the rib onto the shell before sliding it onto the mast.
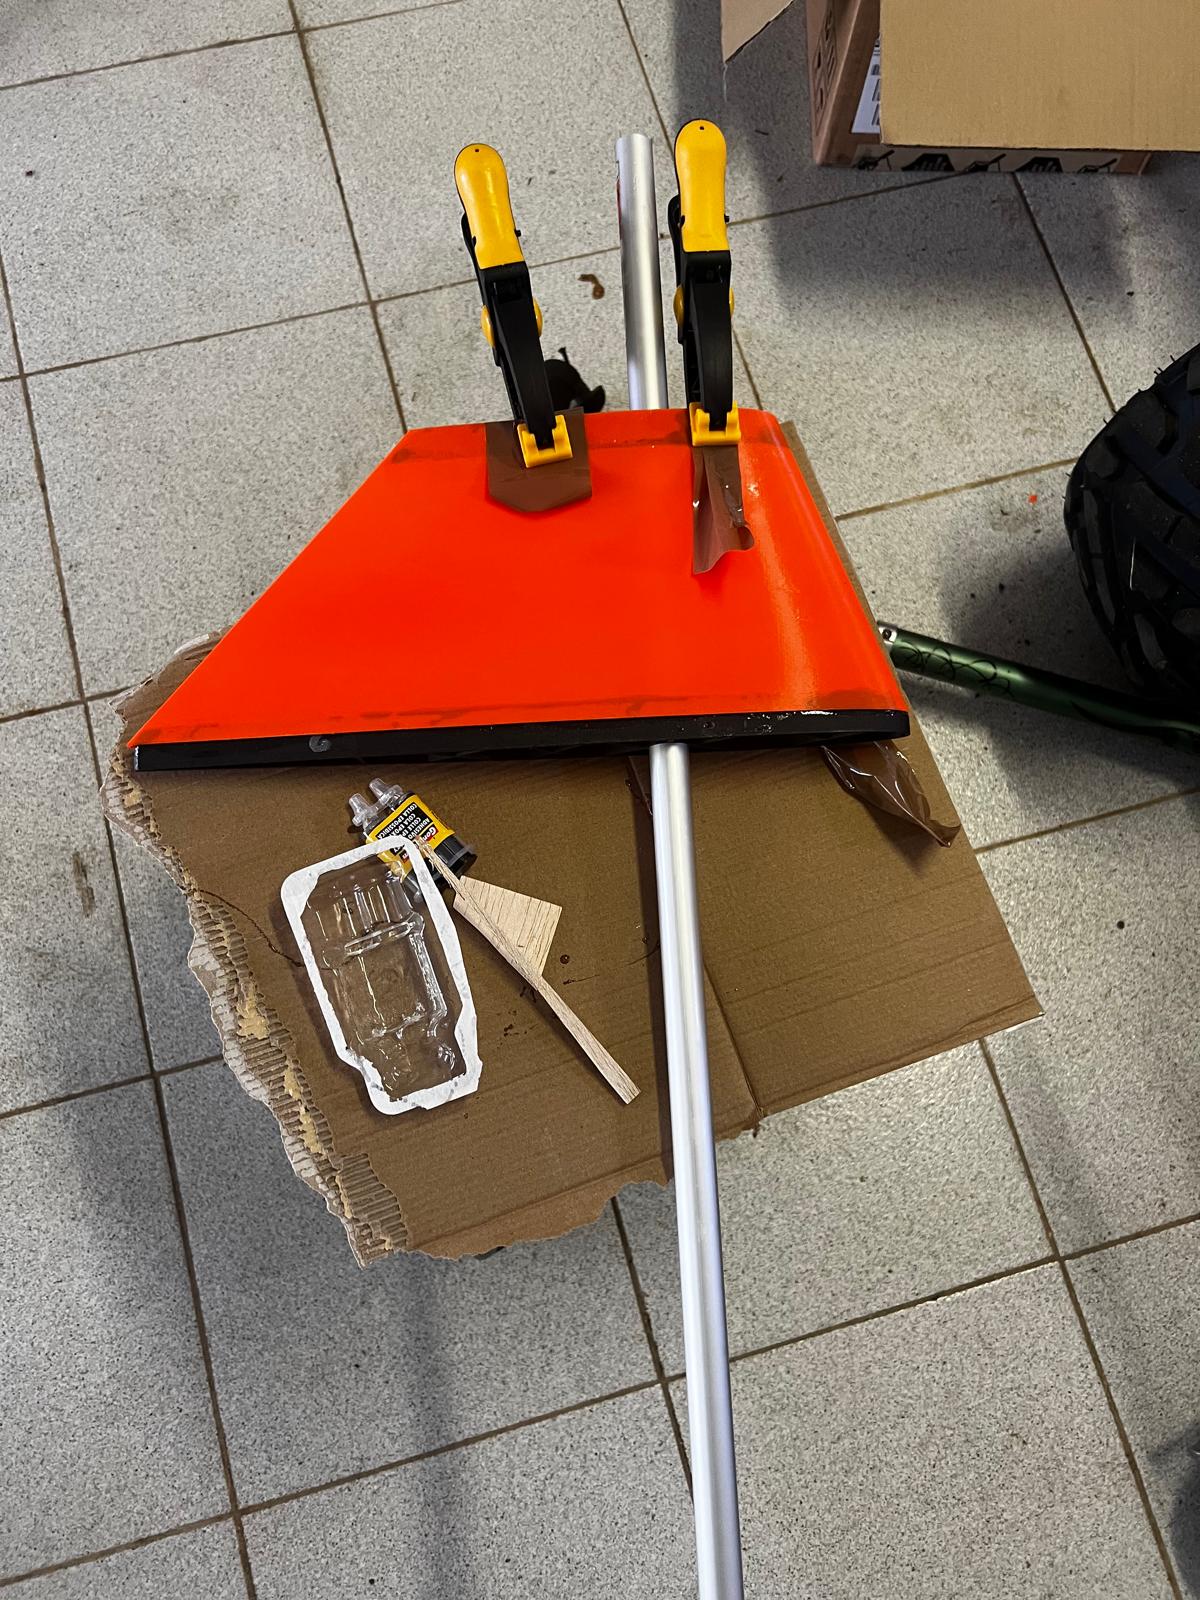
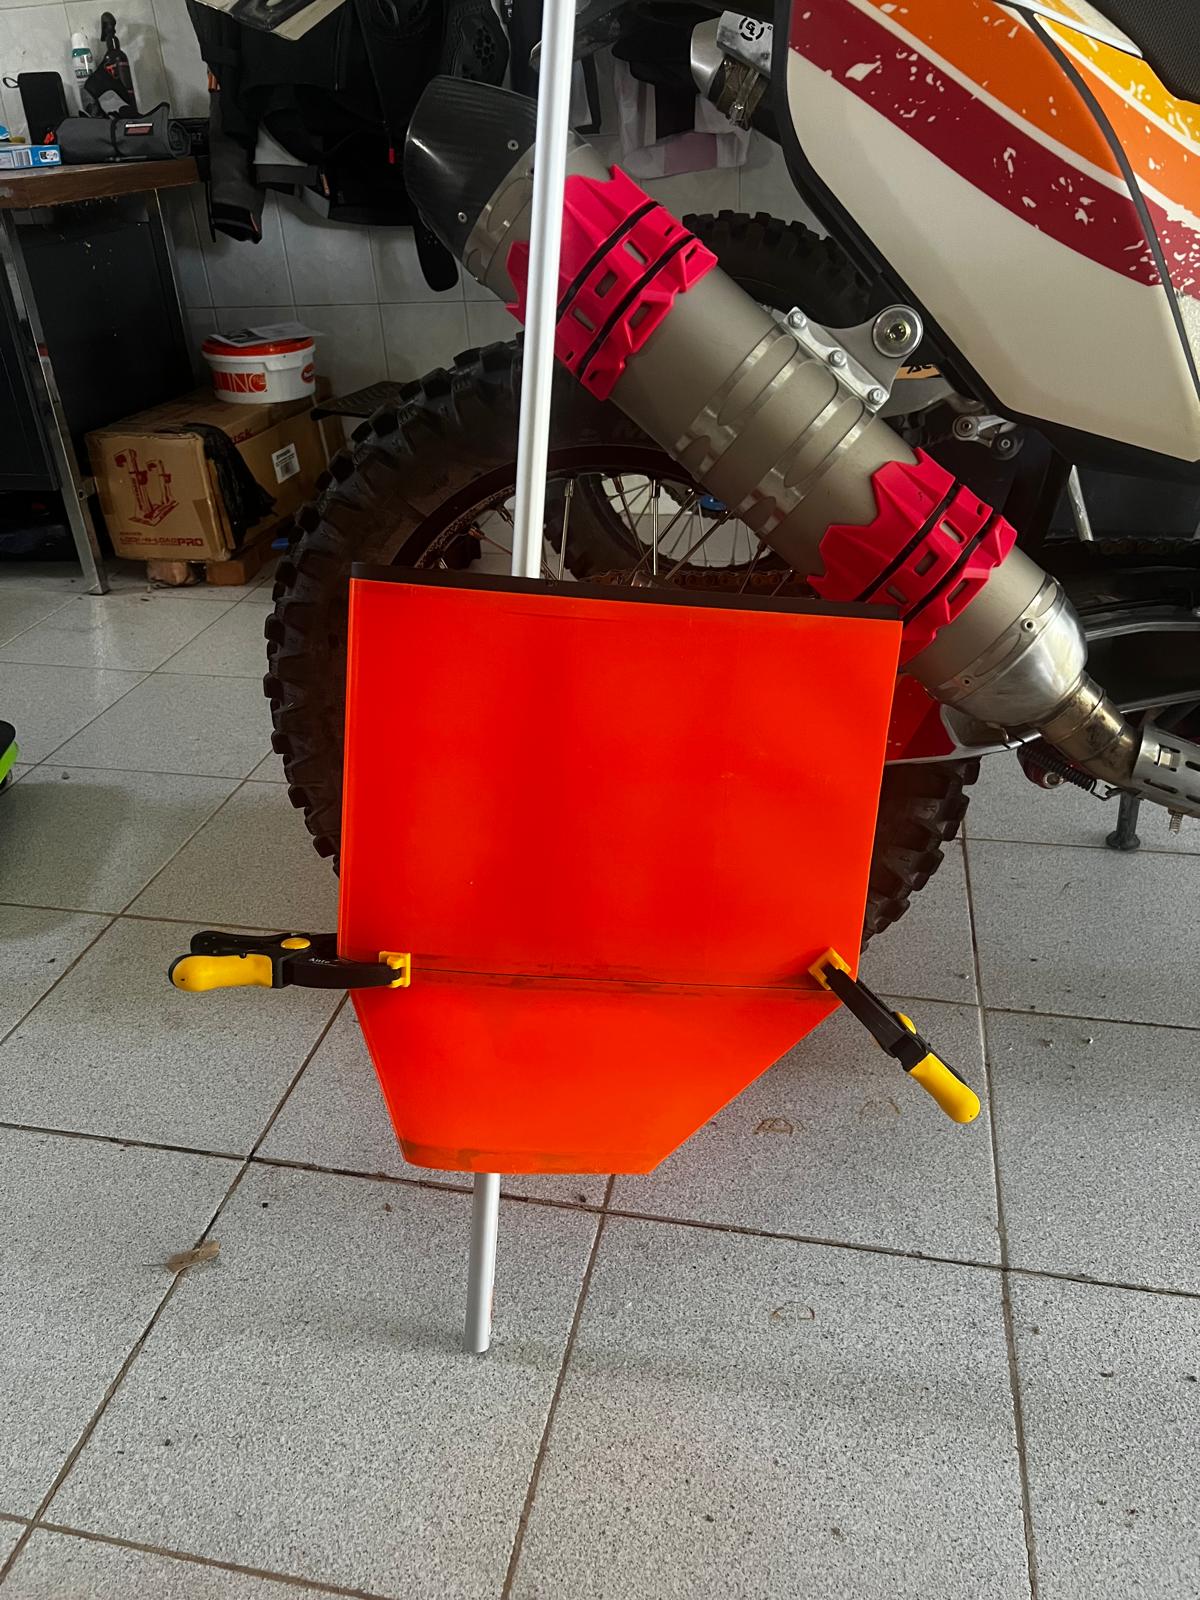
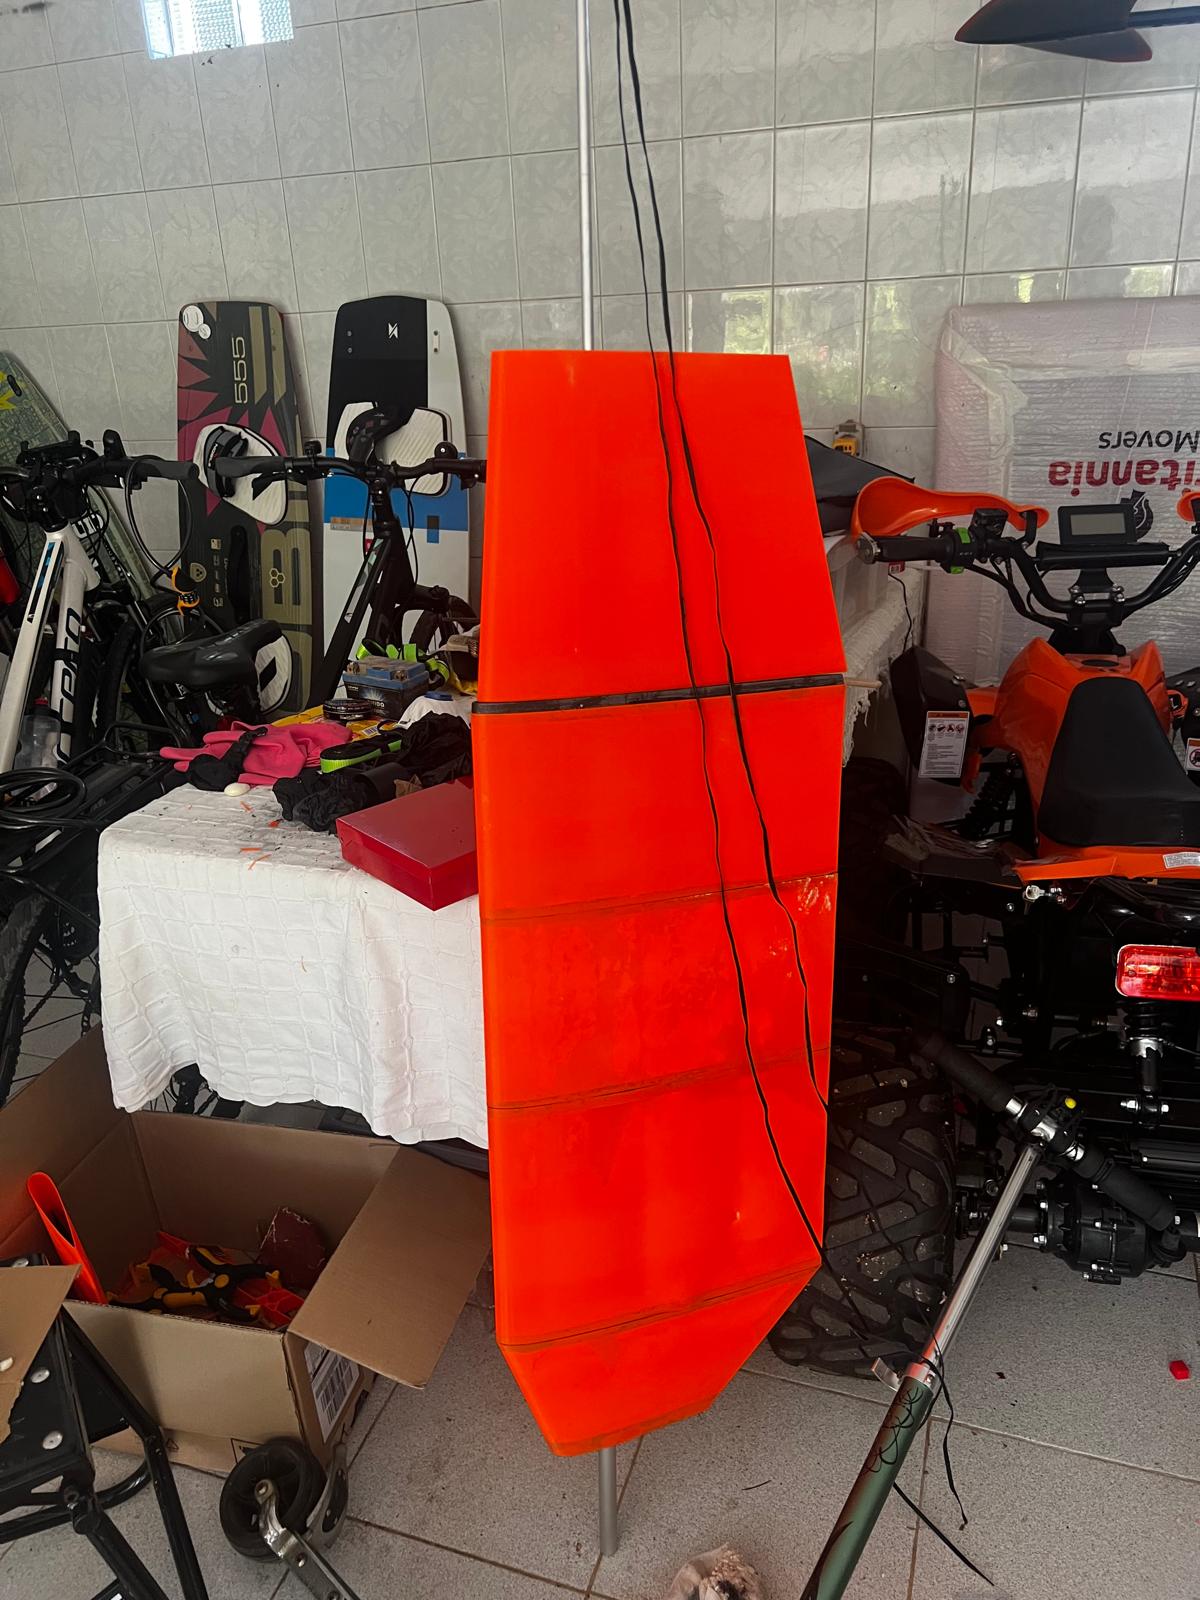
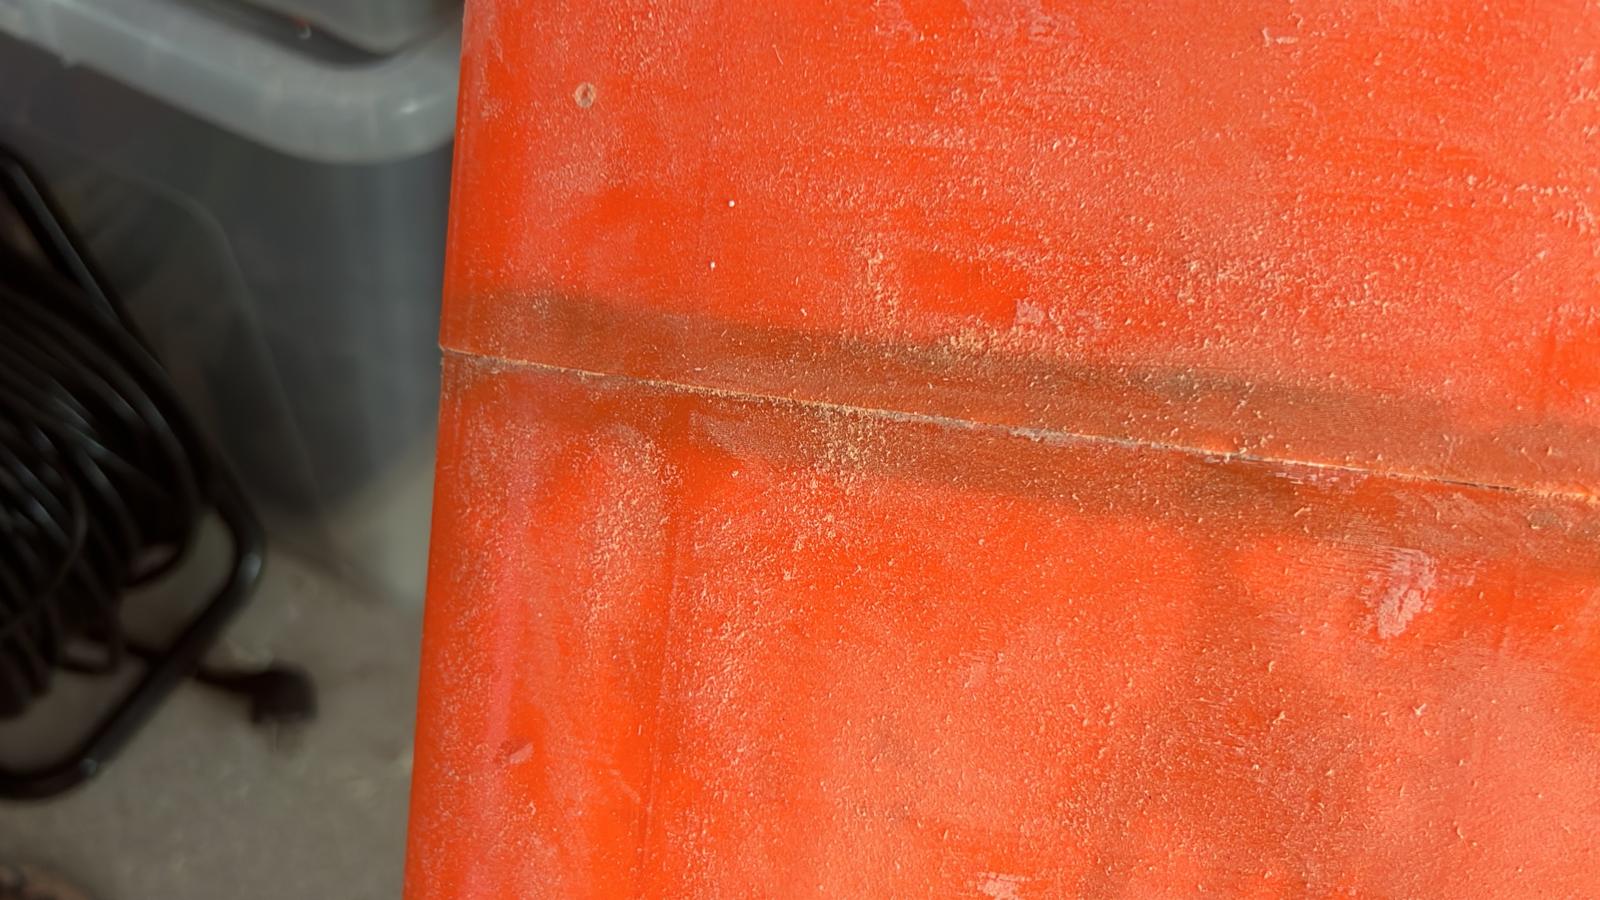
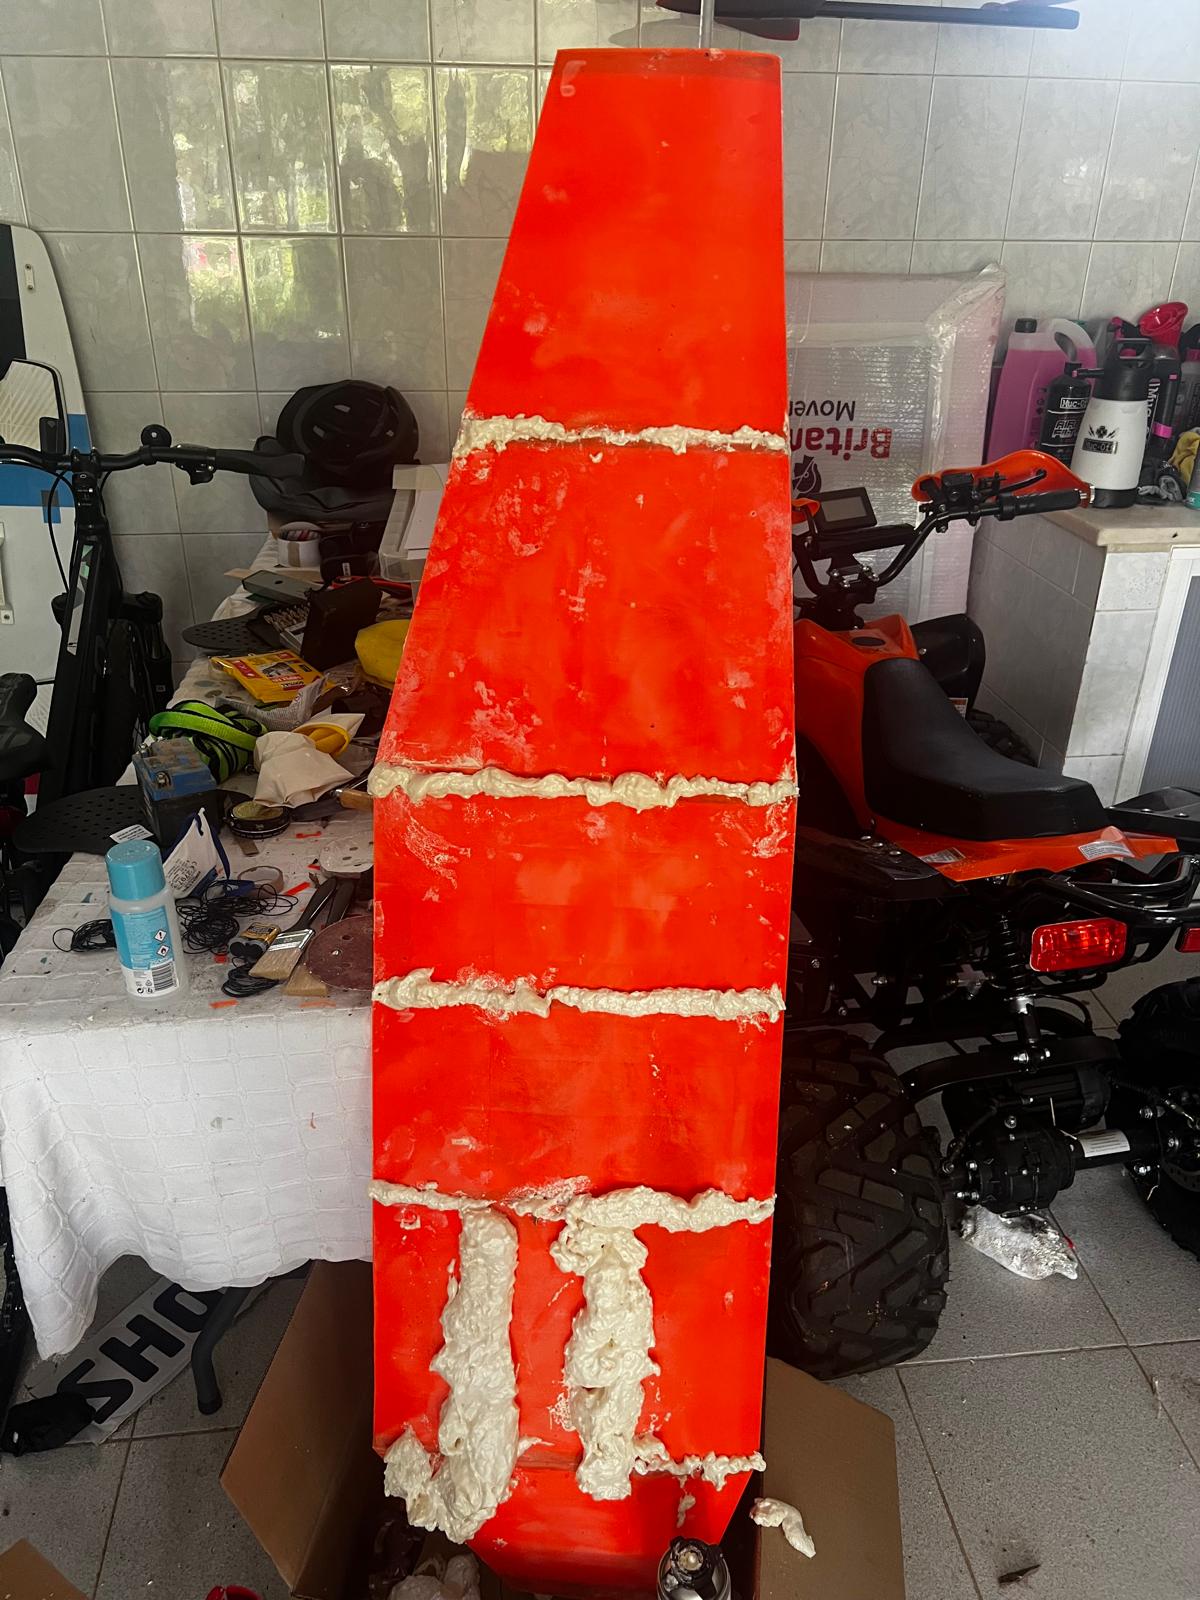
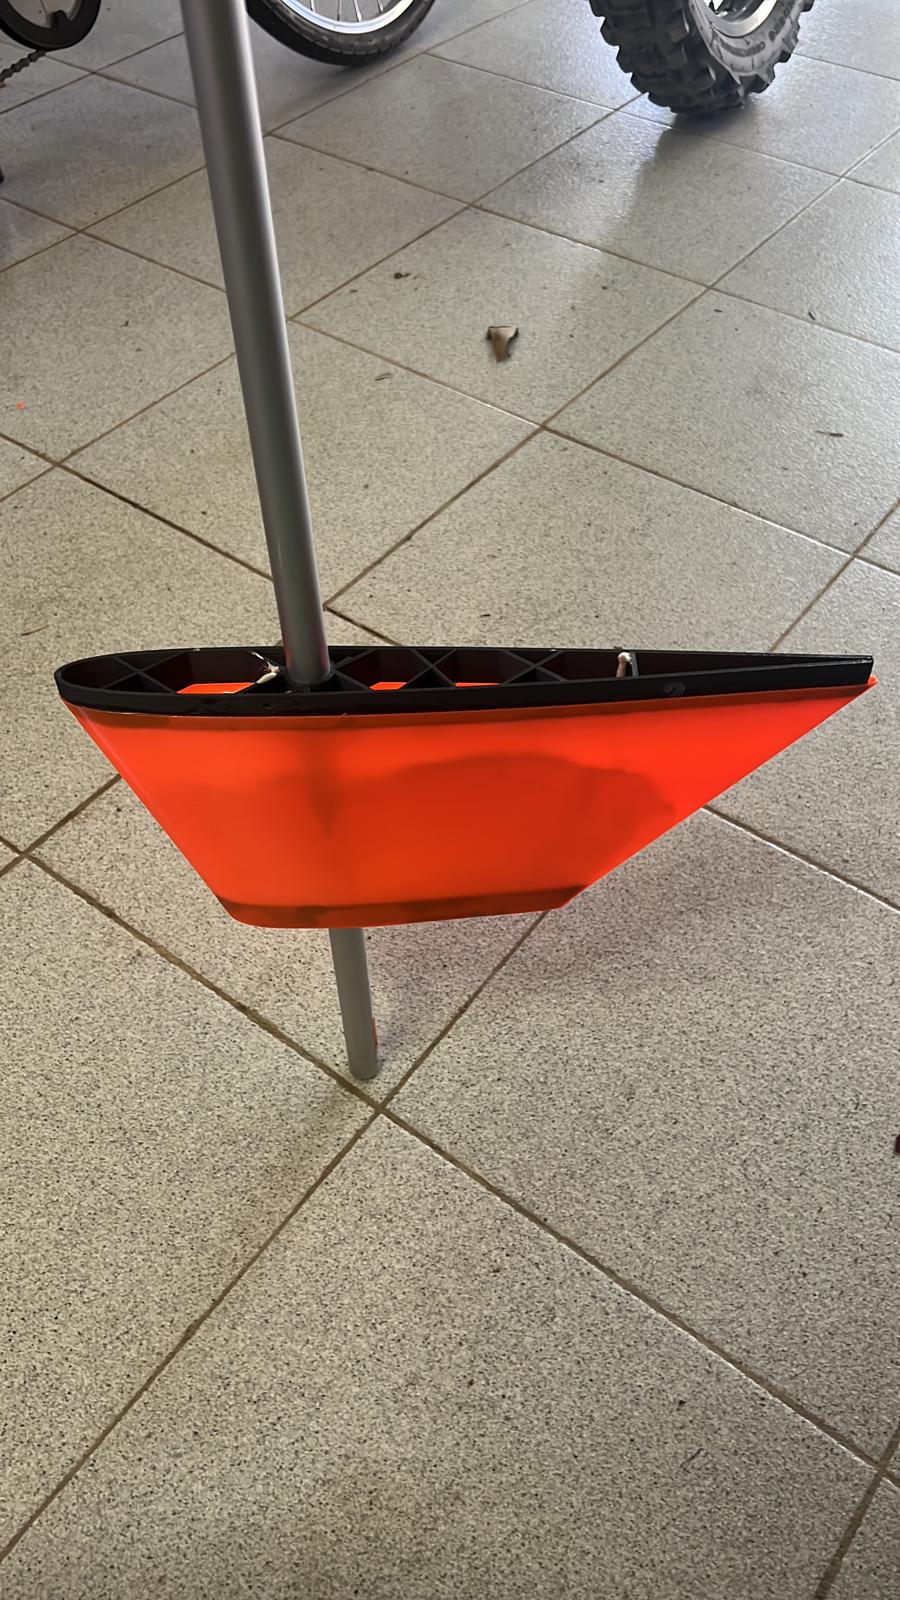
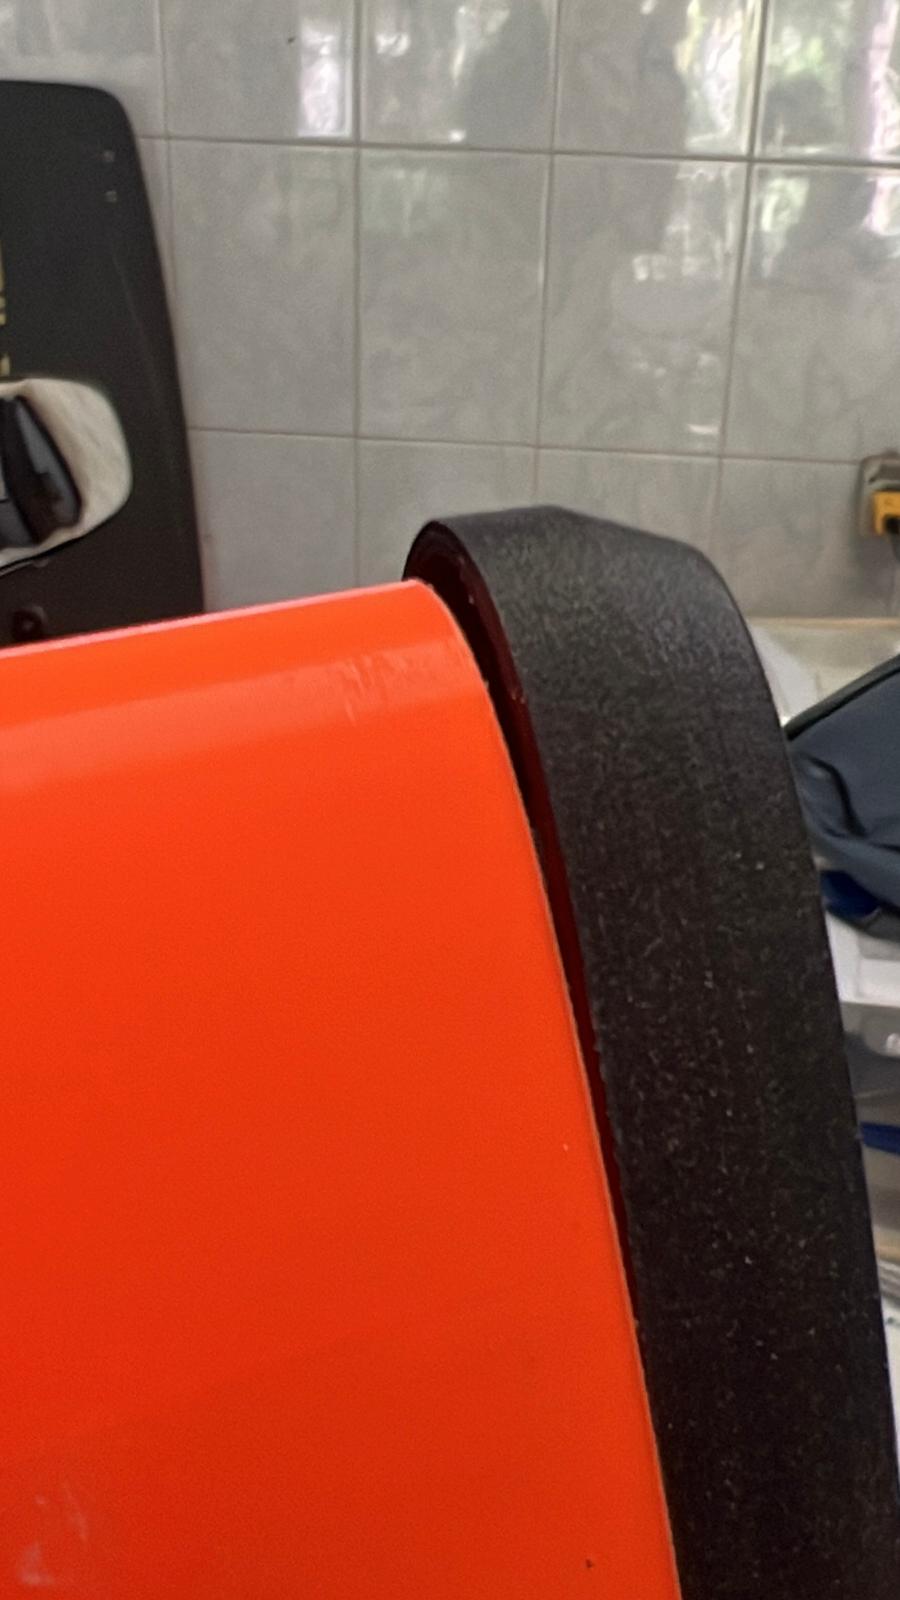
Assembling the shells from the bottom up
Fibreglass reinforcement
Once the wing was fully assembled, I sanded the entire surface and filled any remaining gaps with epoxy and foam.
I mixed the marine-grade epoxy according to the manufacturer's instructions and coated the leech of the wing. I then laid a 2 m × 15 cm strip of 50 g/m² fibreglass along the leech, using a brush to work the epoxy into the fibres and remove air bubbles.
I coated the rest of the wing with epoxy and laid a 2 m × 1 m sheet of 50 g/m² fibreglass over the surface. I worked from the leading edge towards the leech, smoothing out bubbles and making sure the fibreglass was fully saturated with epoxy.
Finally, I left the wing to cure and lightly sanded the surface once it had hardened.
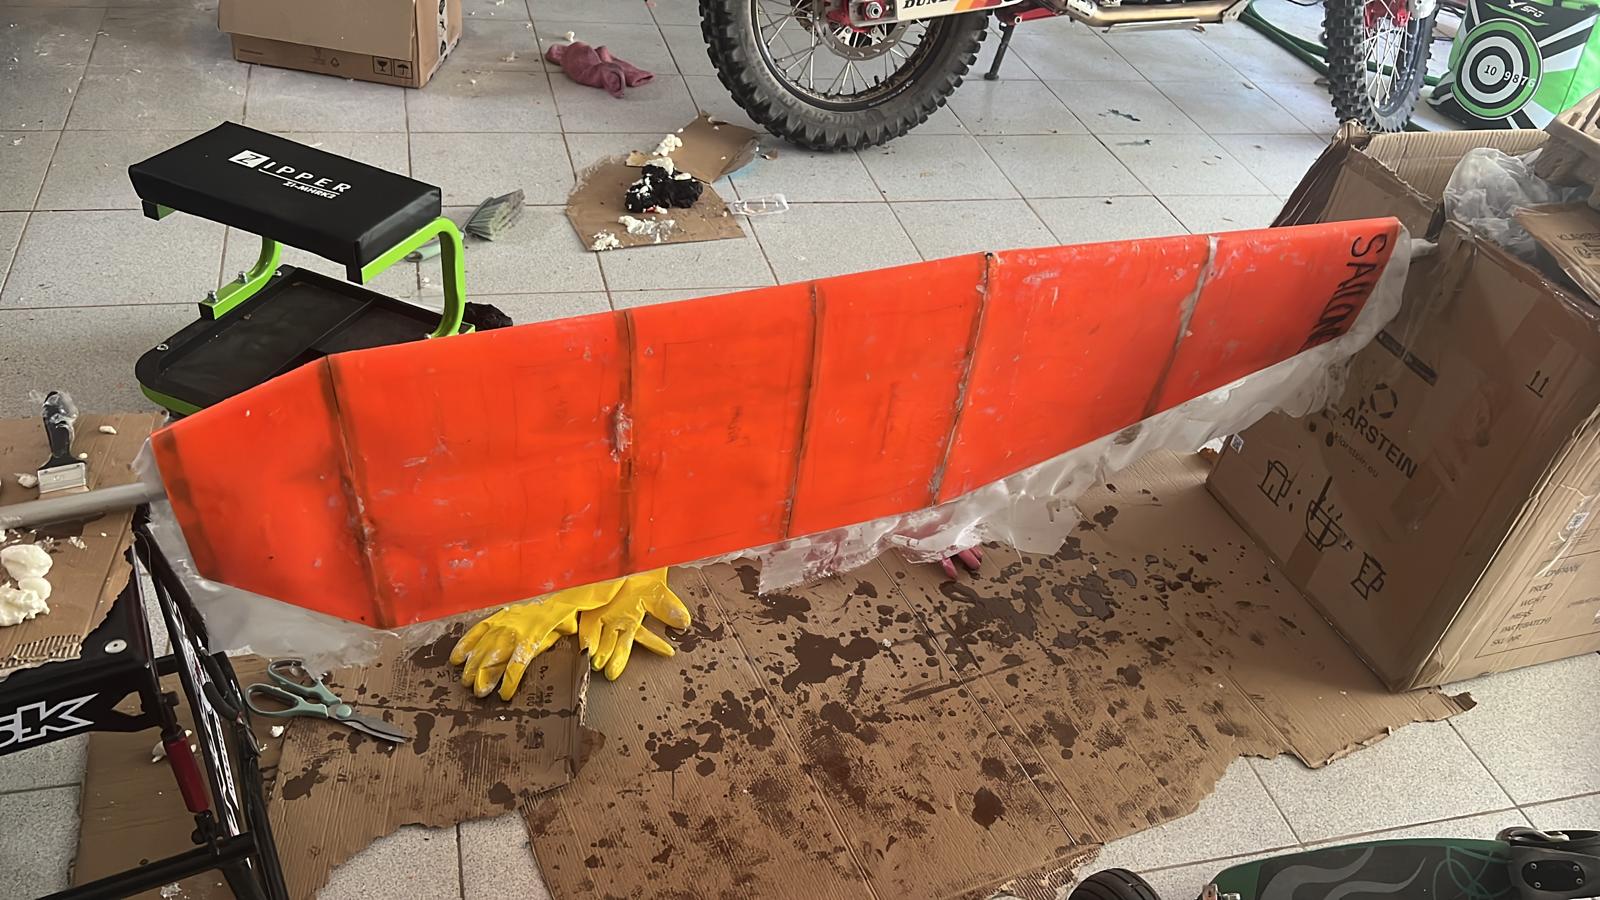

Fibreglass, cure and final sanding
Thank You Prusa
Thanks to Prusa Research for providing the Prusament PLA and the carbon-fibre-reinforced polyethylene used for the shells and ribs of this wing.
Get Involved
Whether you offer technical advice, sponsorship, or just want to ask a question, please don't hesitate to get in touch. Project updates are publicly available at sailone.org.