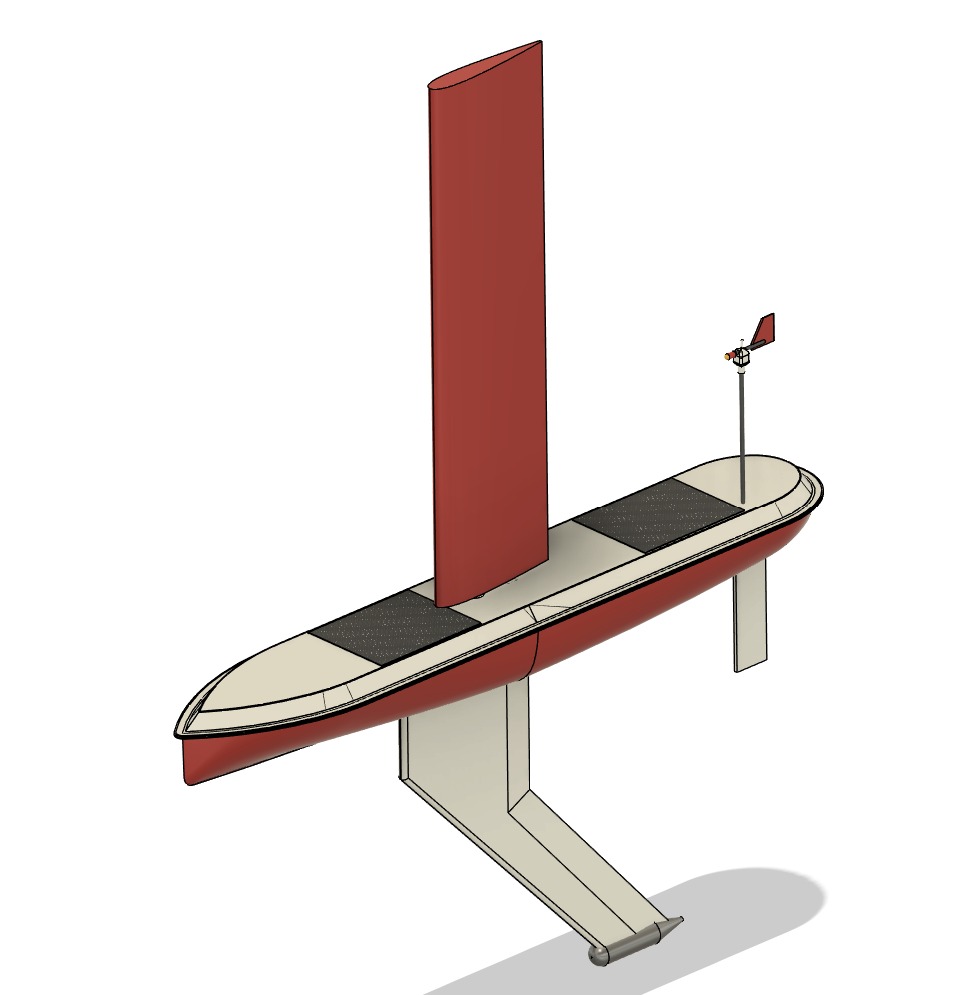
The hull of SailOne started as 17 separate 3D printed shells and ended up as one stiff fiberglass shell weighing about 7 kg. This is how it came together, from the first print to the last coat of paint.
The printed plastic is only the shape. All the strength comes from the fiberglass laid on top of it.
Part 1: 3D printing the shells
The hull is made of thin shells, 3 mm thick, printed in Prusament PLA with two outer perimeters. I ran the whole job on a Prusa Core One L. It took almost a week of printing and the finished shells weigh around 3 kg in total.
None of these printed parts carry structural load. Their only job is to give the boat a clean, hydrodynamically efficient shape for the fiberglass to sit on.
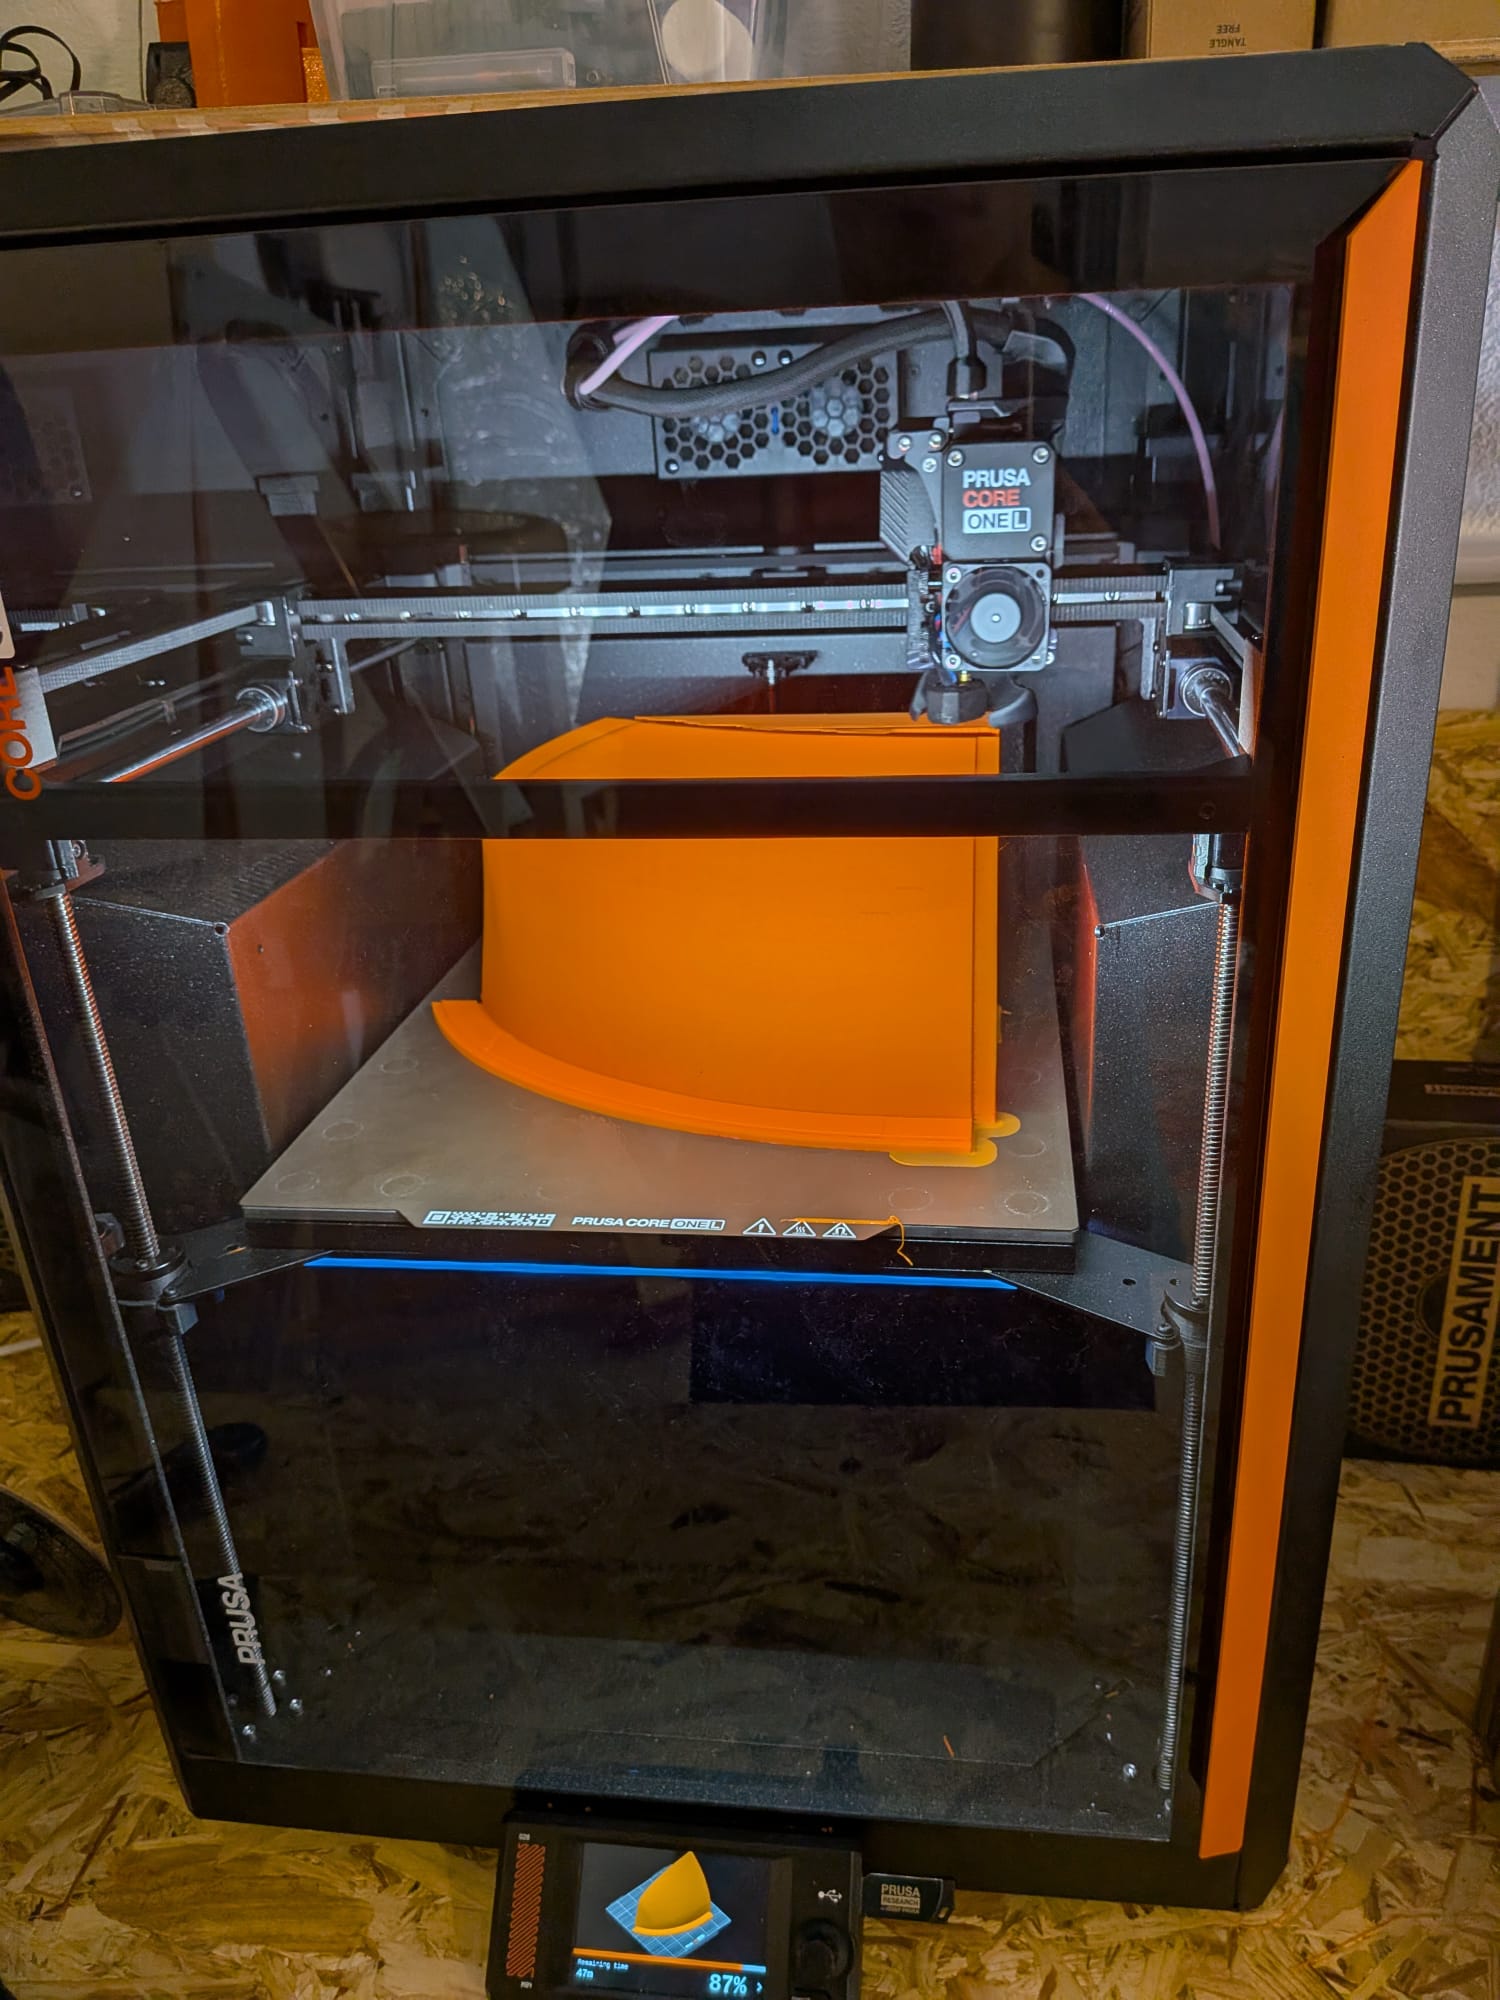
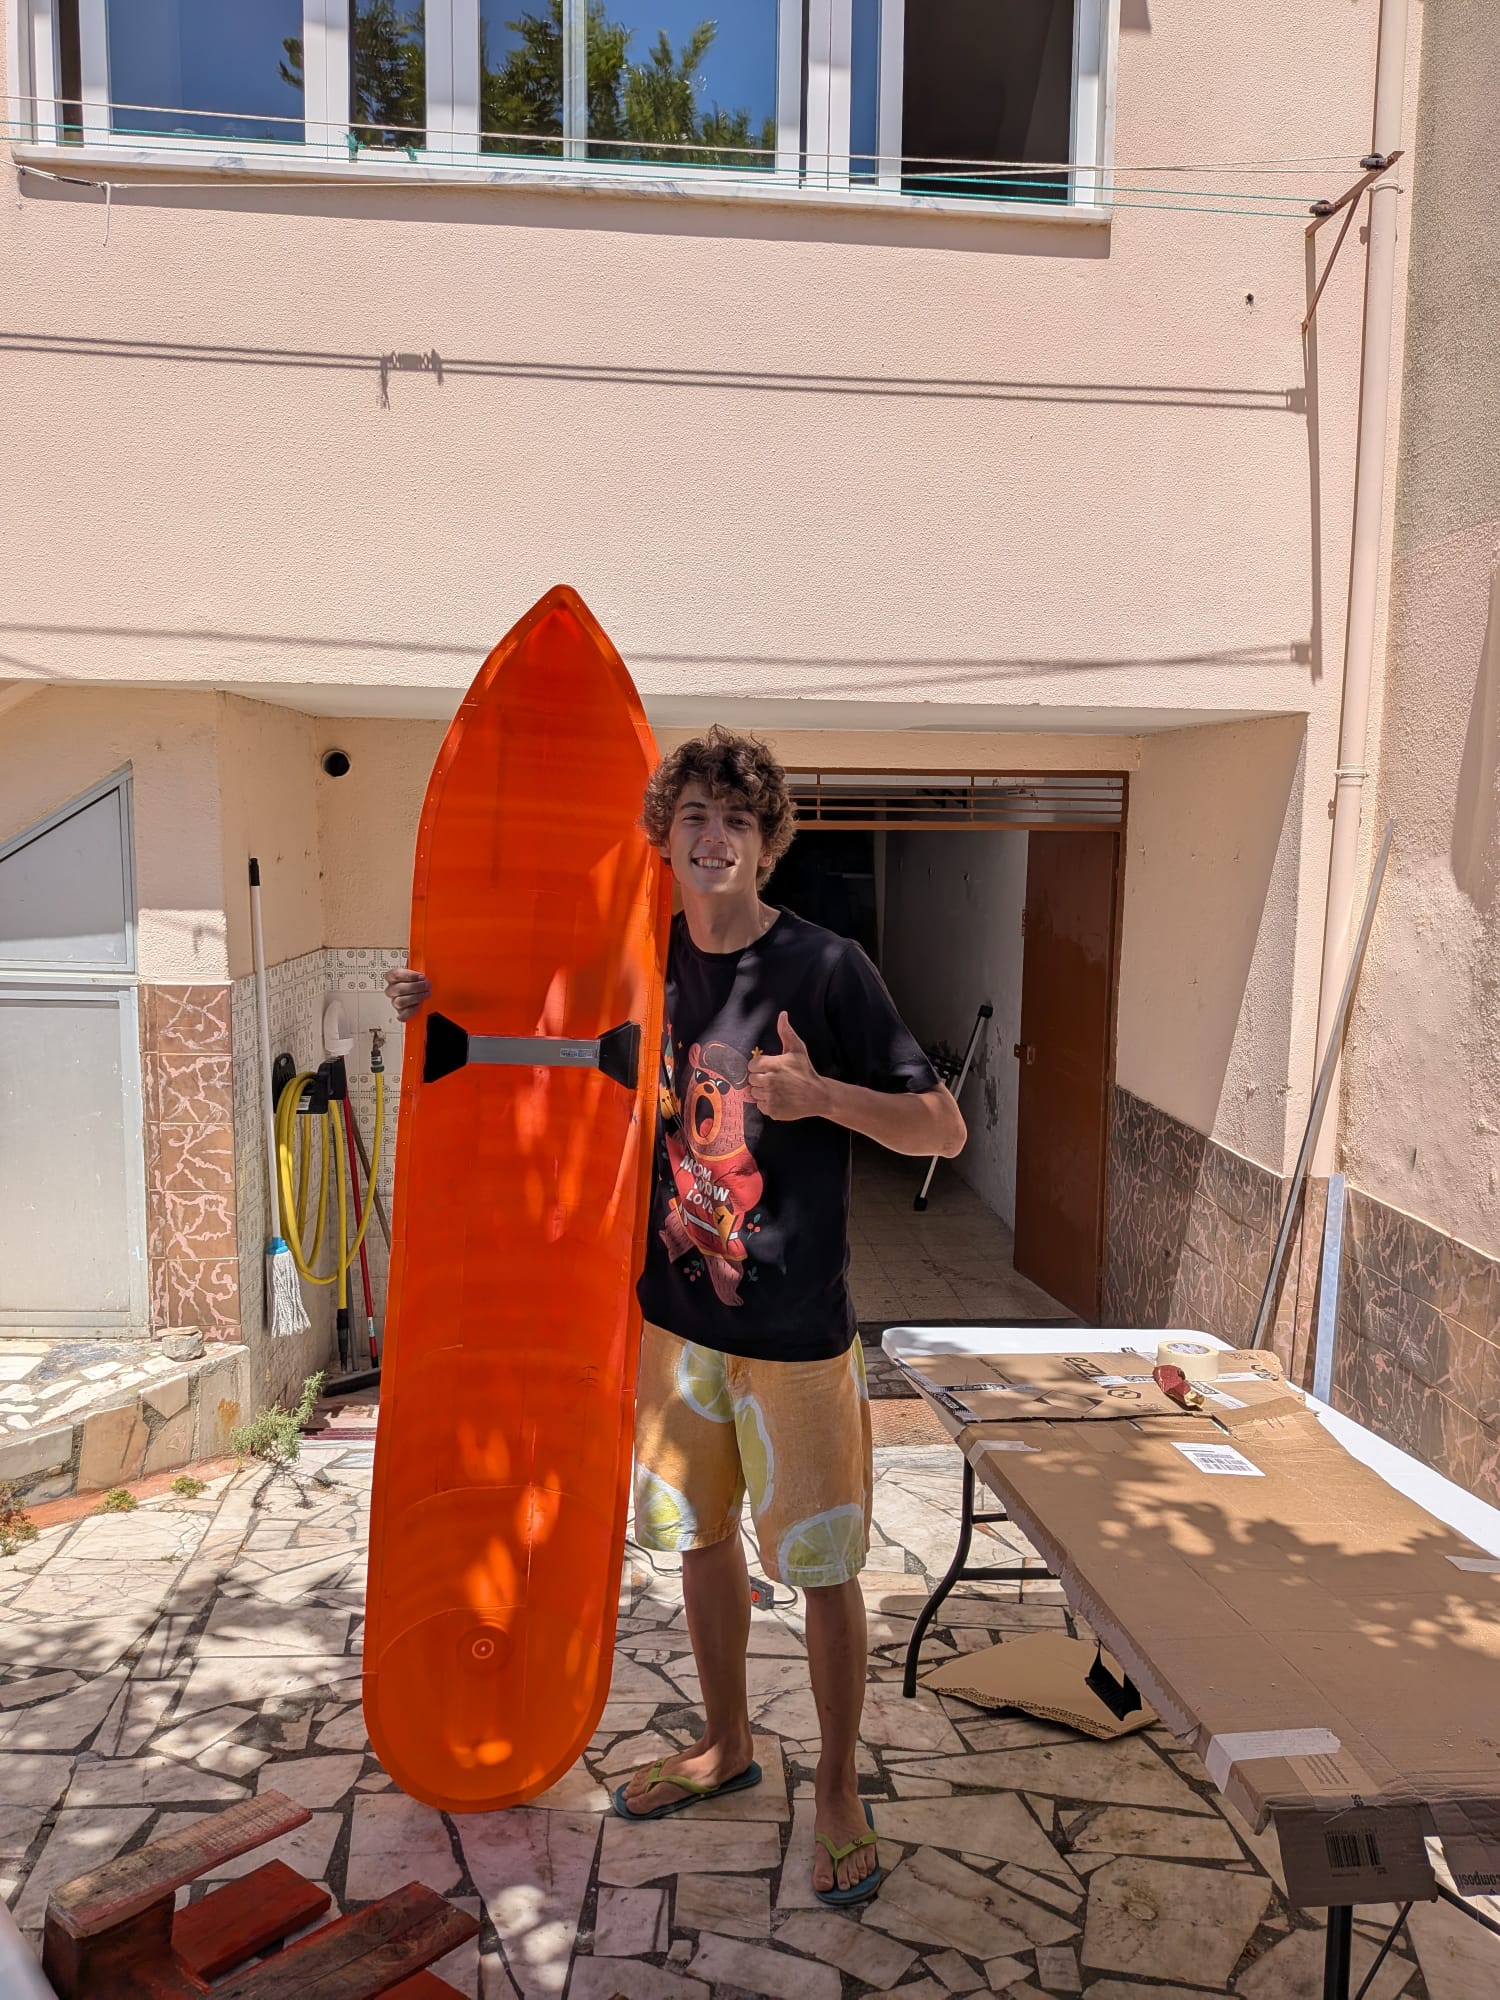
Printing the hull sections on the Core One L
Part 2: Gluing 17 pieces into one hull
The hull came off the printer in 17 pieces, joined with fast setting epoxy resin.
Every part was printed with a brim, and that brim did two jobs. During printing it gave the part better adhesion to the build plate and kept it stable as the layers went higher. During assembly it gave me much more surface area to glue against. It worked well on both counts.
Sand the joints before gluing. Epoxy grips a rough surface far better than a smooth printed one. While the resin was setting I held each piece under pressure to keep it level and stop it twisting, because a small twist at one joint turns into a crooked hull ten joints later.
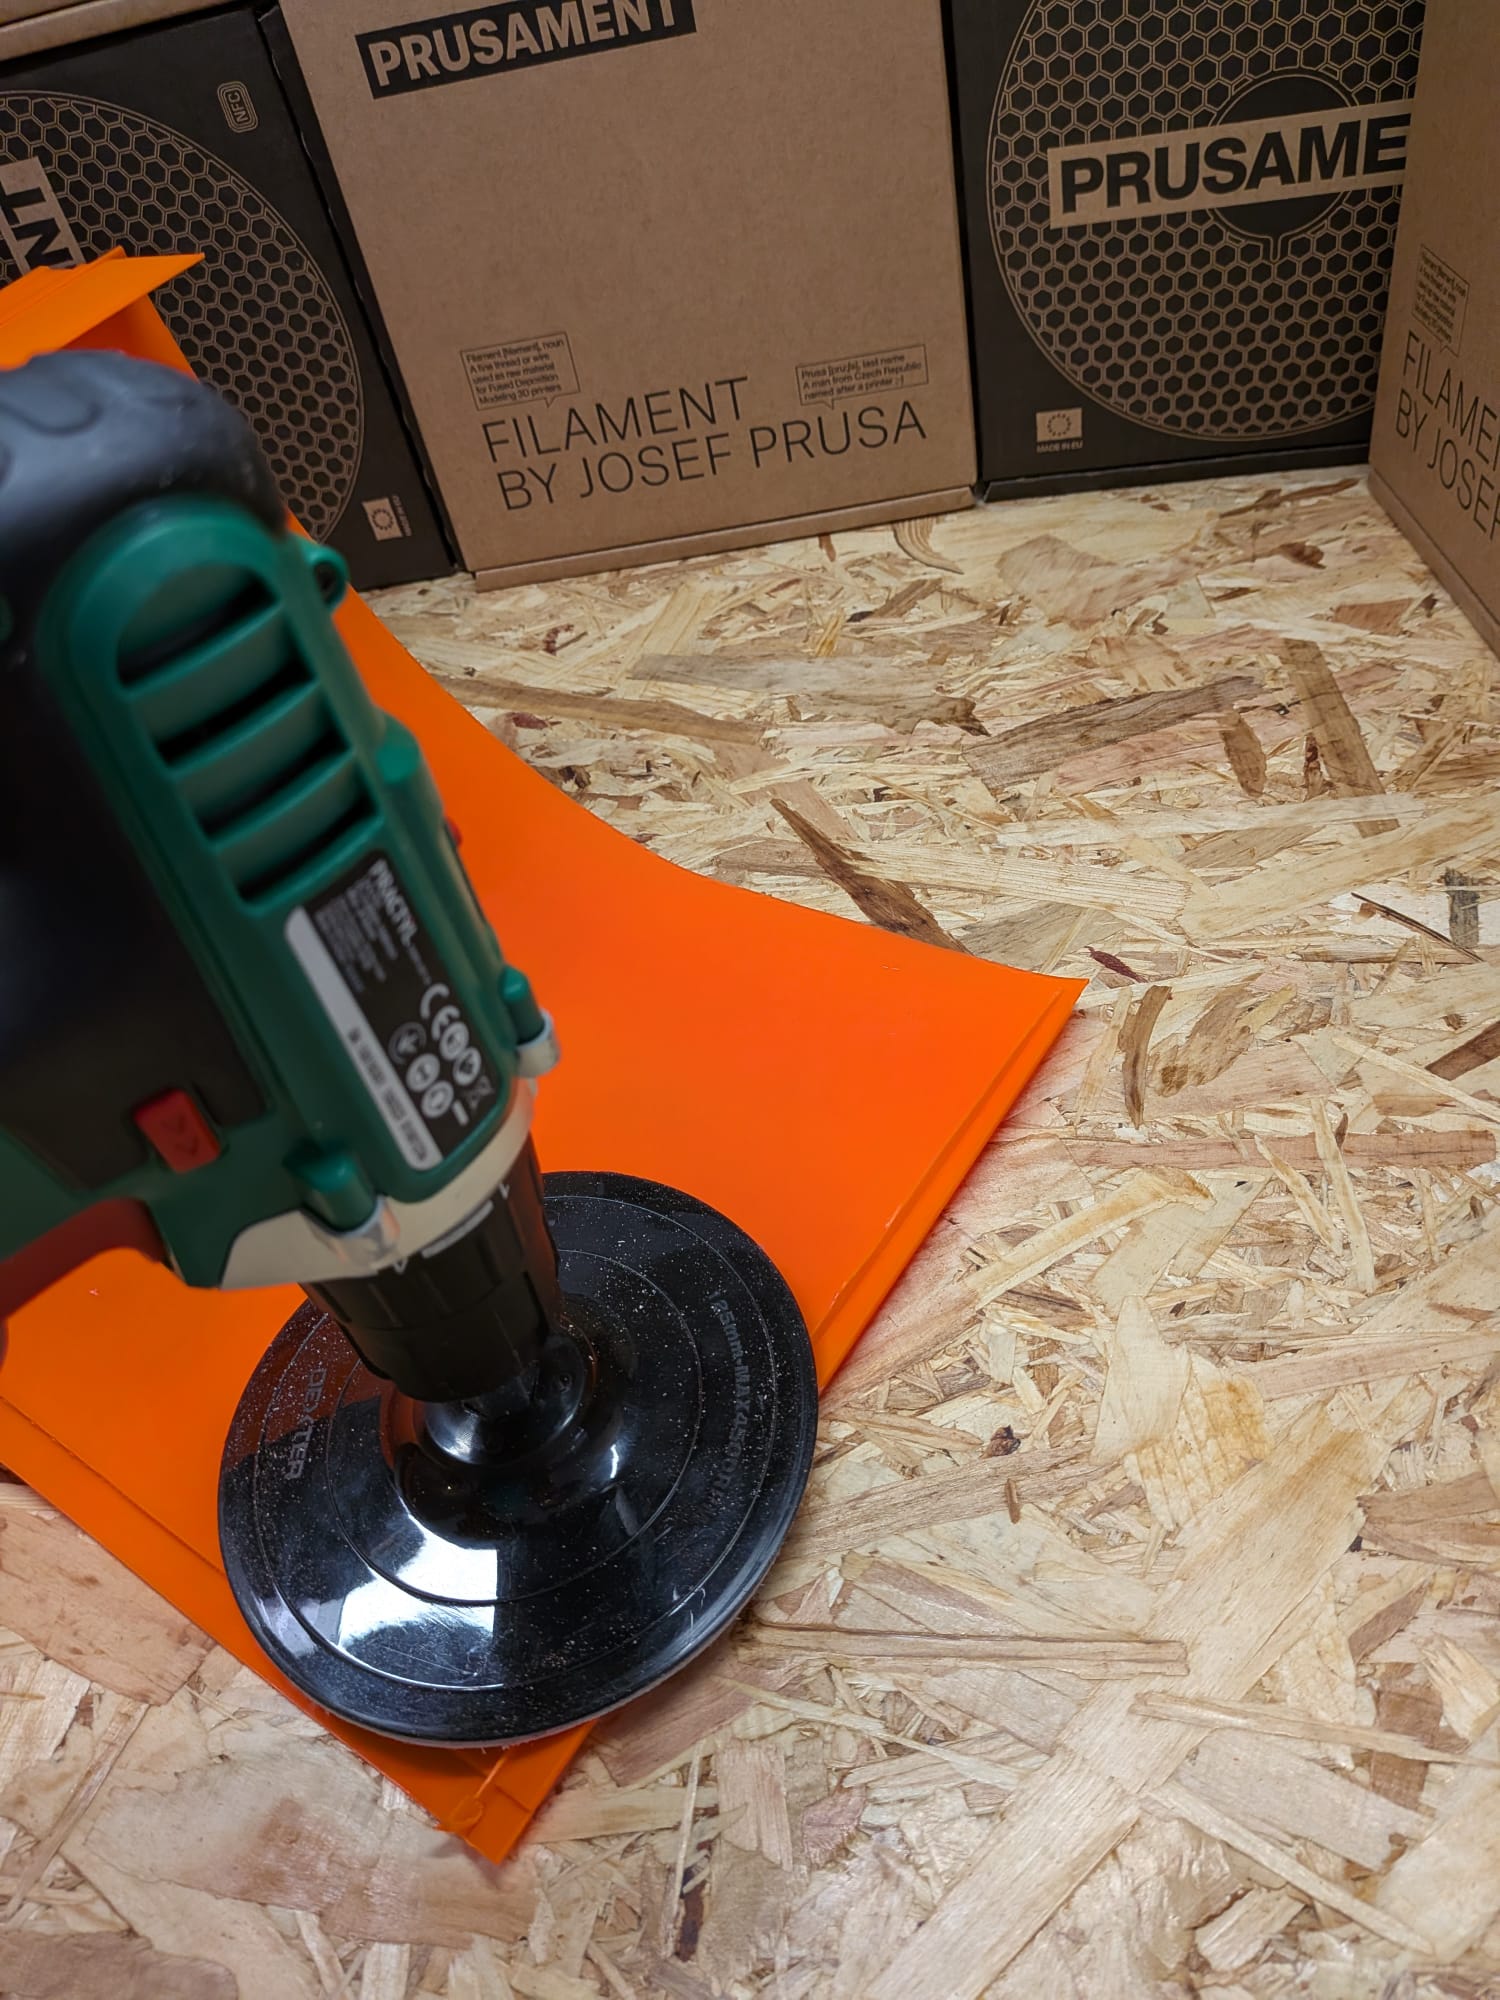
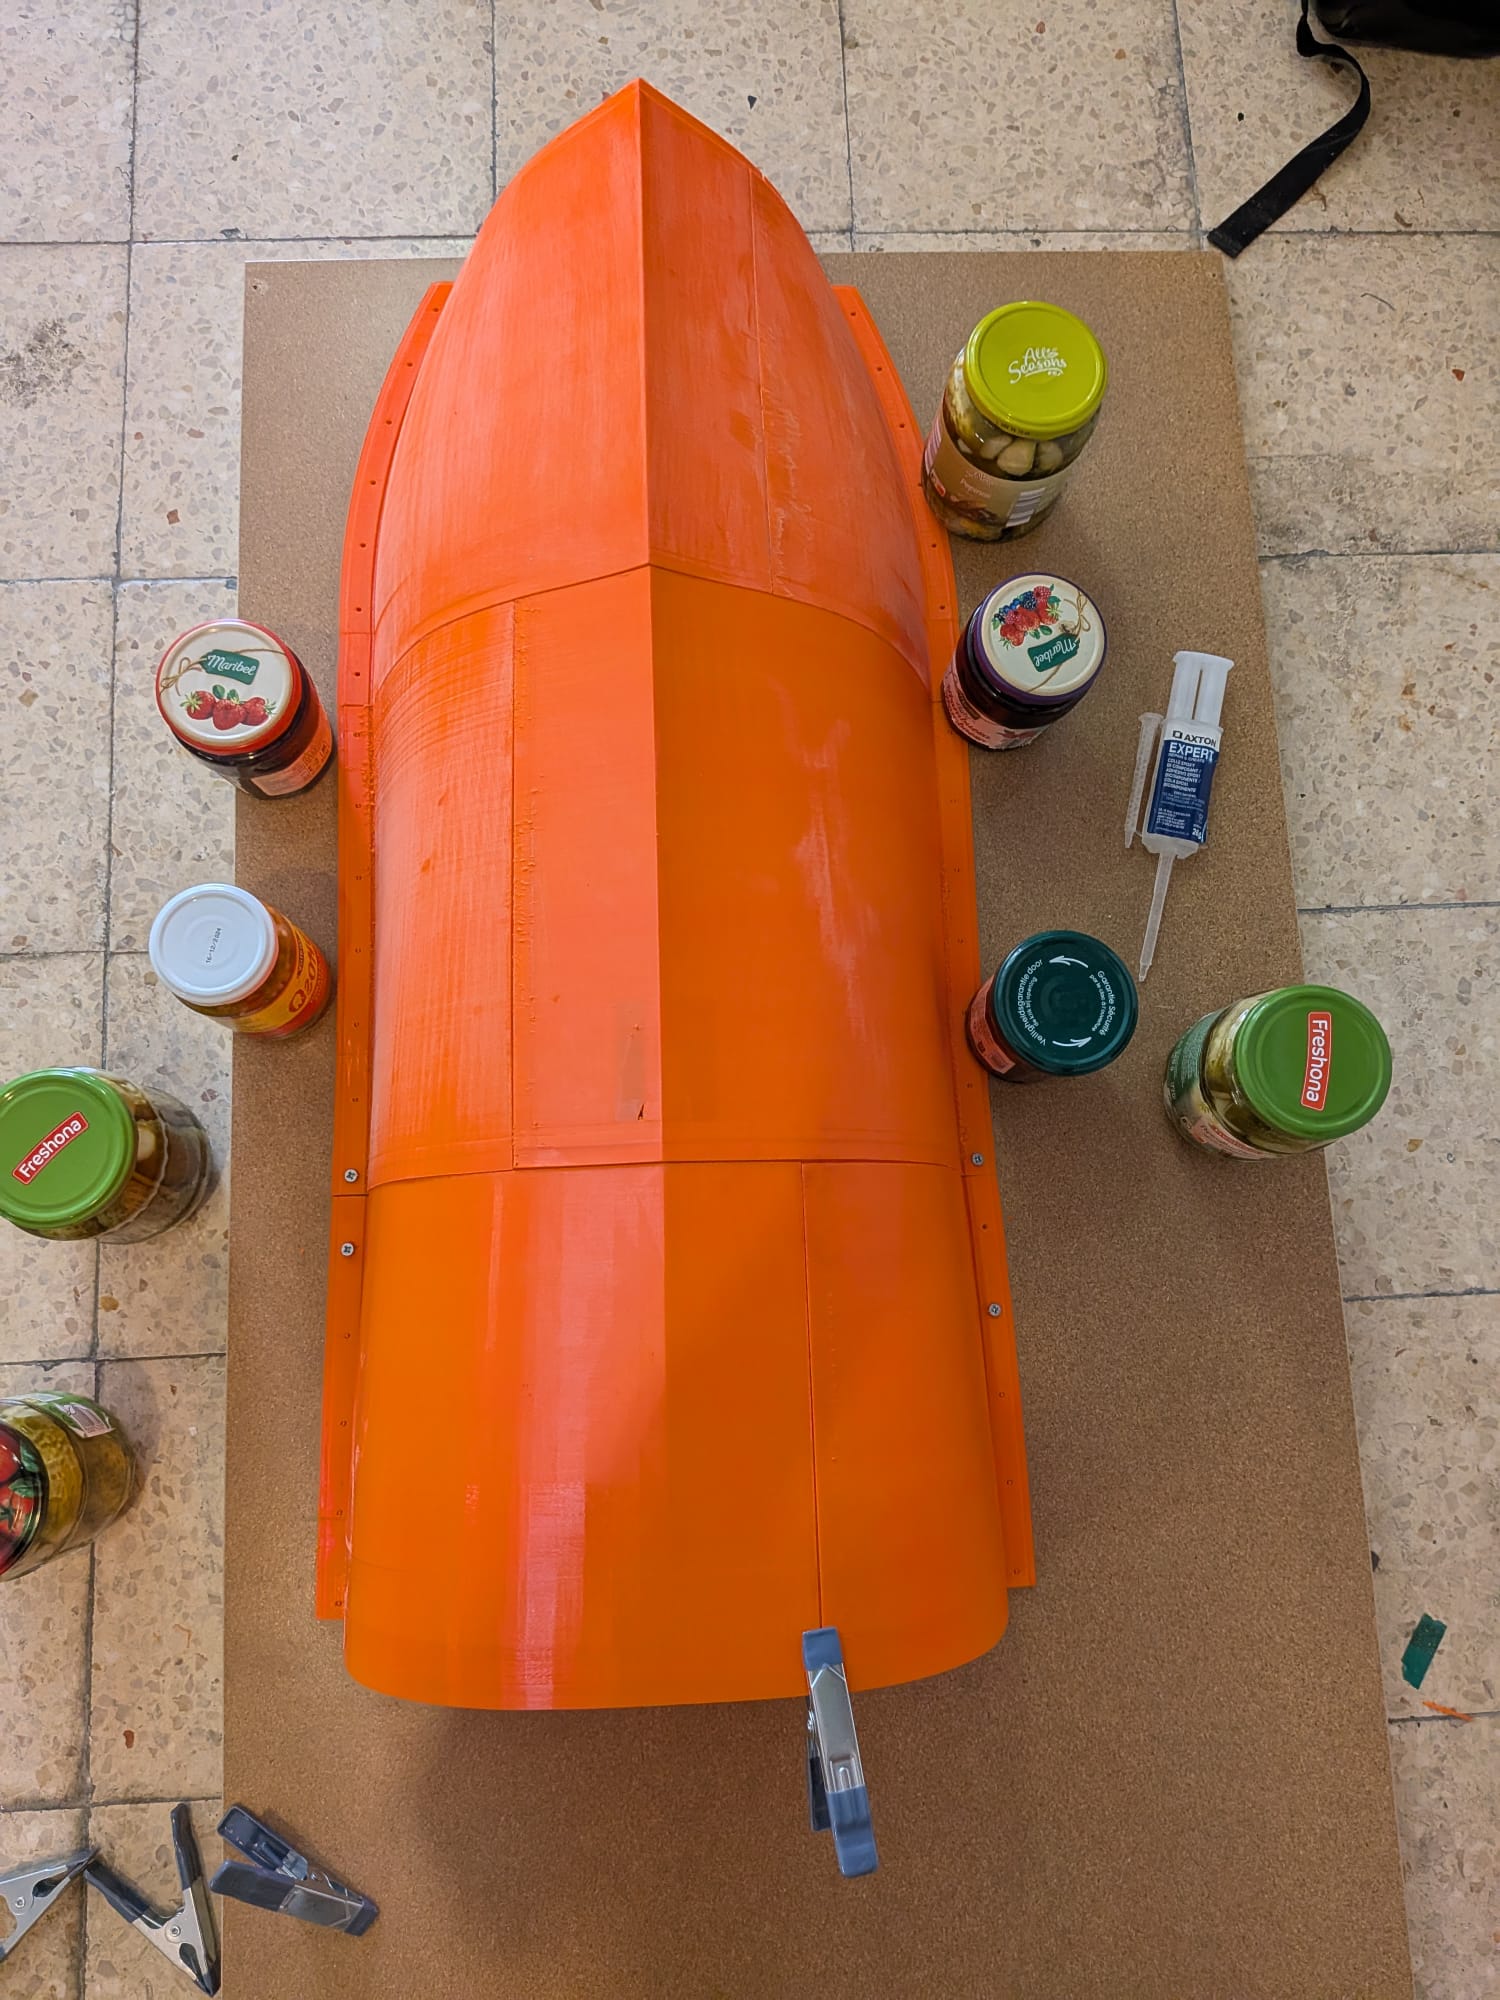
The printed sections joined into one hull
Part 3: Smoothing it out
With the hull assembled, the whole surface had to be sanded to prepare it for fiberglass. The joints between printed parts were not always perfect, so I filled the gaps with epoxy filler and sanded them flat until the seams disappeared.
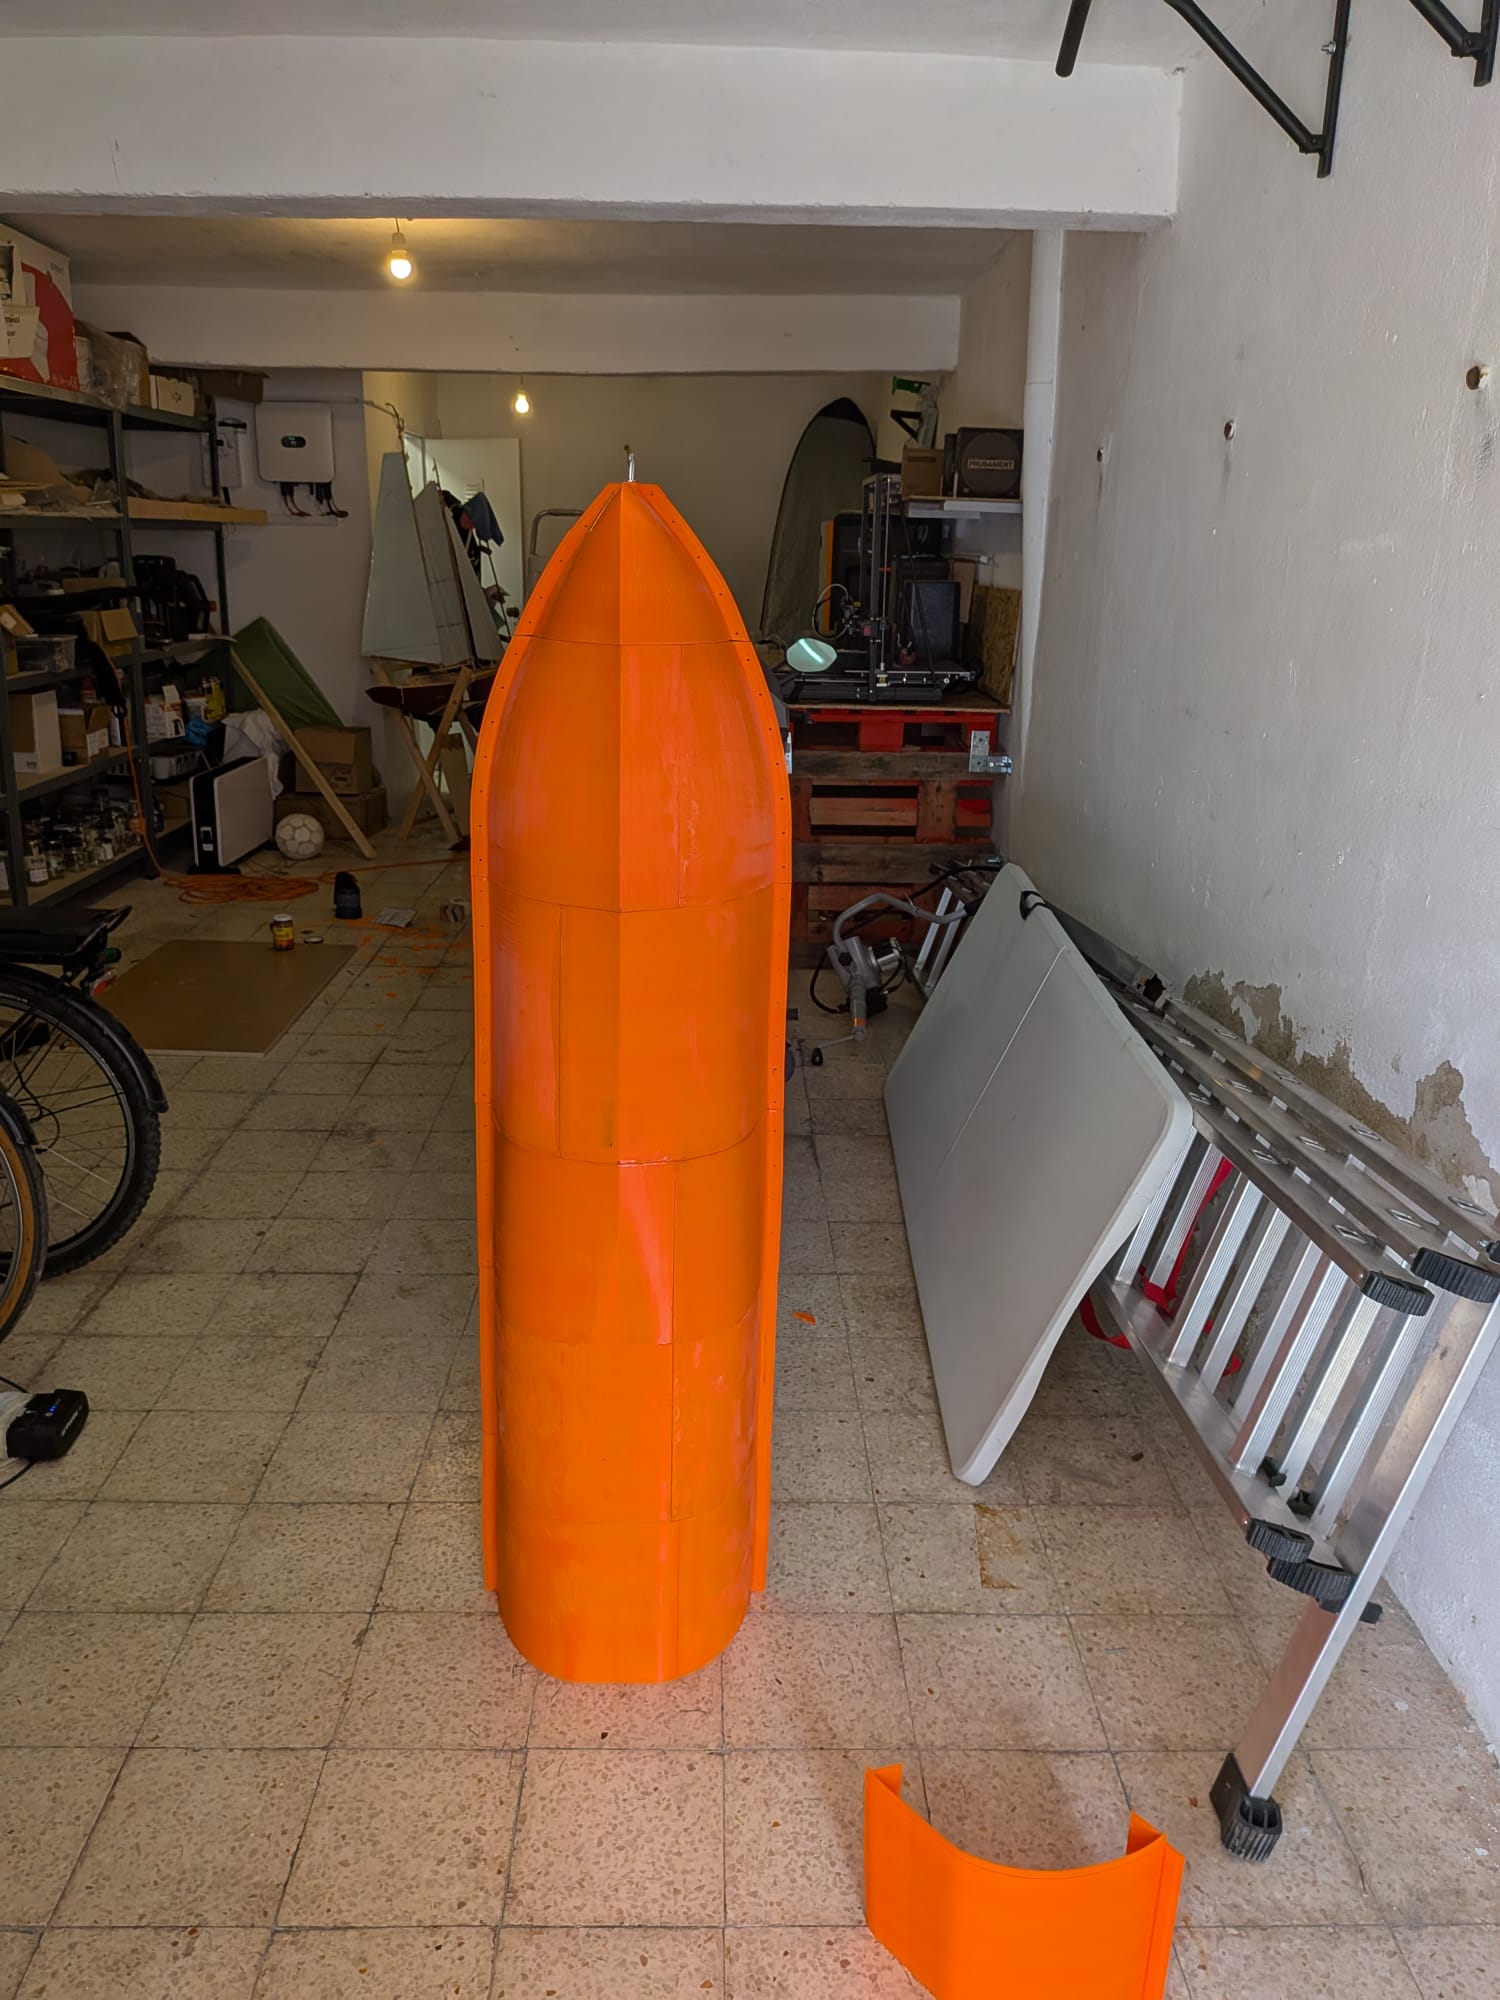
Filling and sanding the seams before fiberglass
Part 4: Seven layers of fiberglass
This was the most nerve racking part of the entire build. Seven layers of thin fiberglass, one full day of work from morning to evening, with no way to pause halfway through. On the bow and along the edges I added extra layers to make the hull as stiff as possible, since those are the areas that take the worst of a head sea.
Then came a lot of trimming and sanding. One warning from experience: be careful with the glass dust. It gets everywhere and it will make you itch for days.
I also laid one layer of fiberglass on the inside of the hull. That layer seals the printed plastic off from the environment so it cannot absorb water or salt, which keeps the hull rigid over a long crossing.
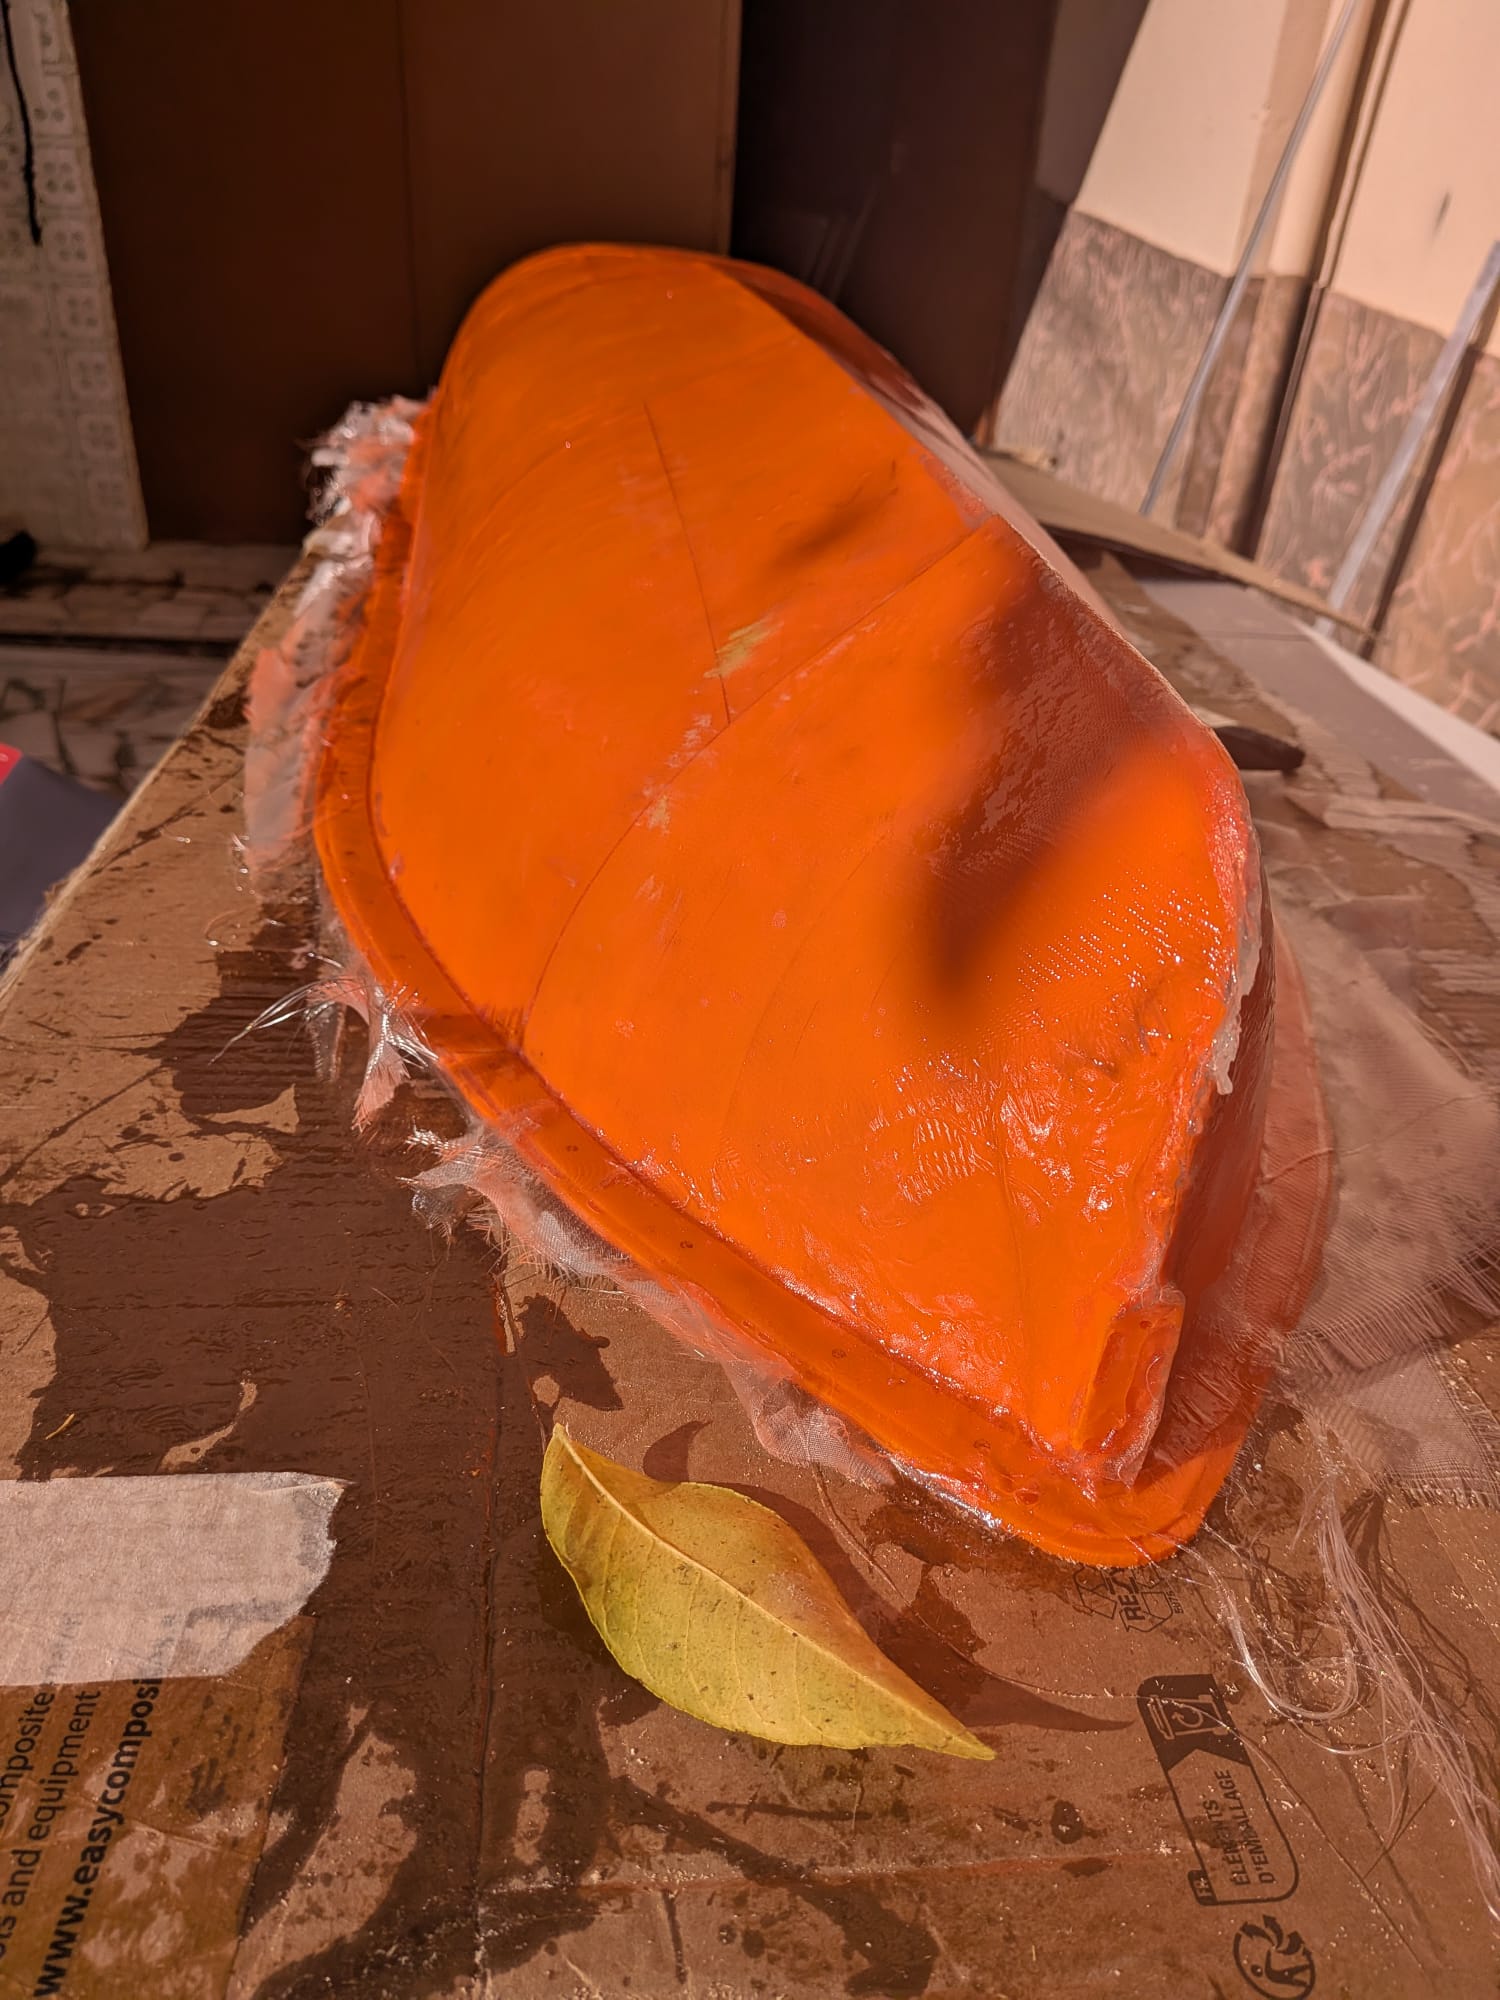
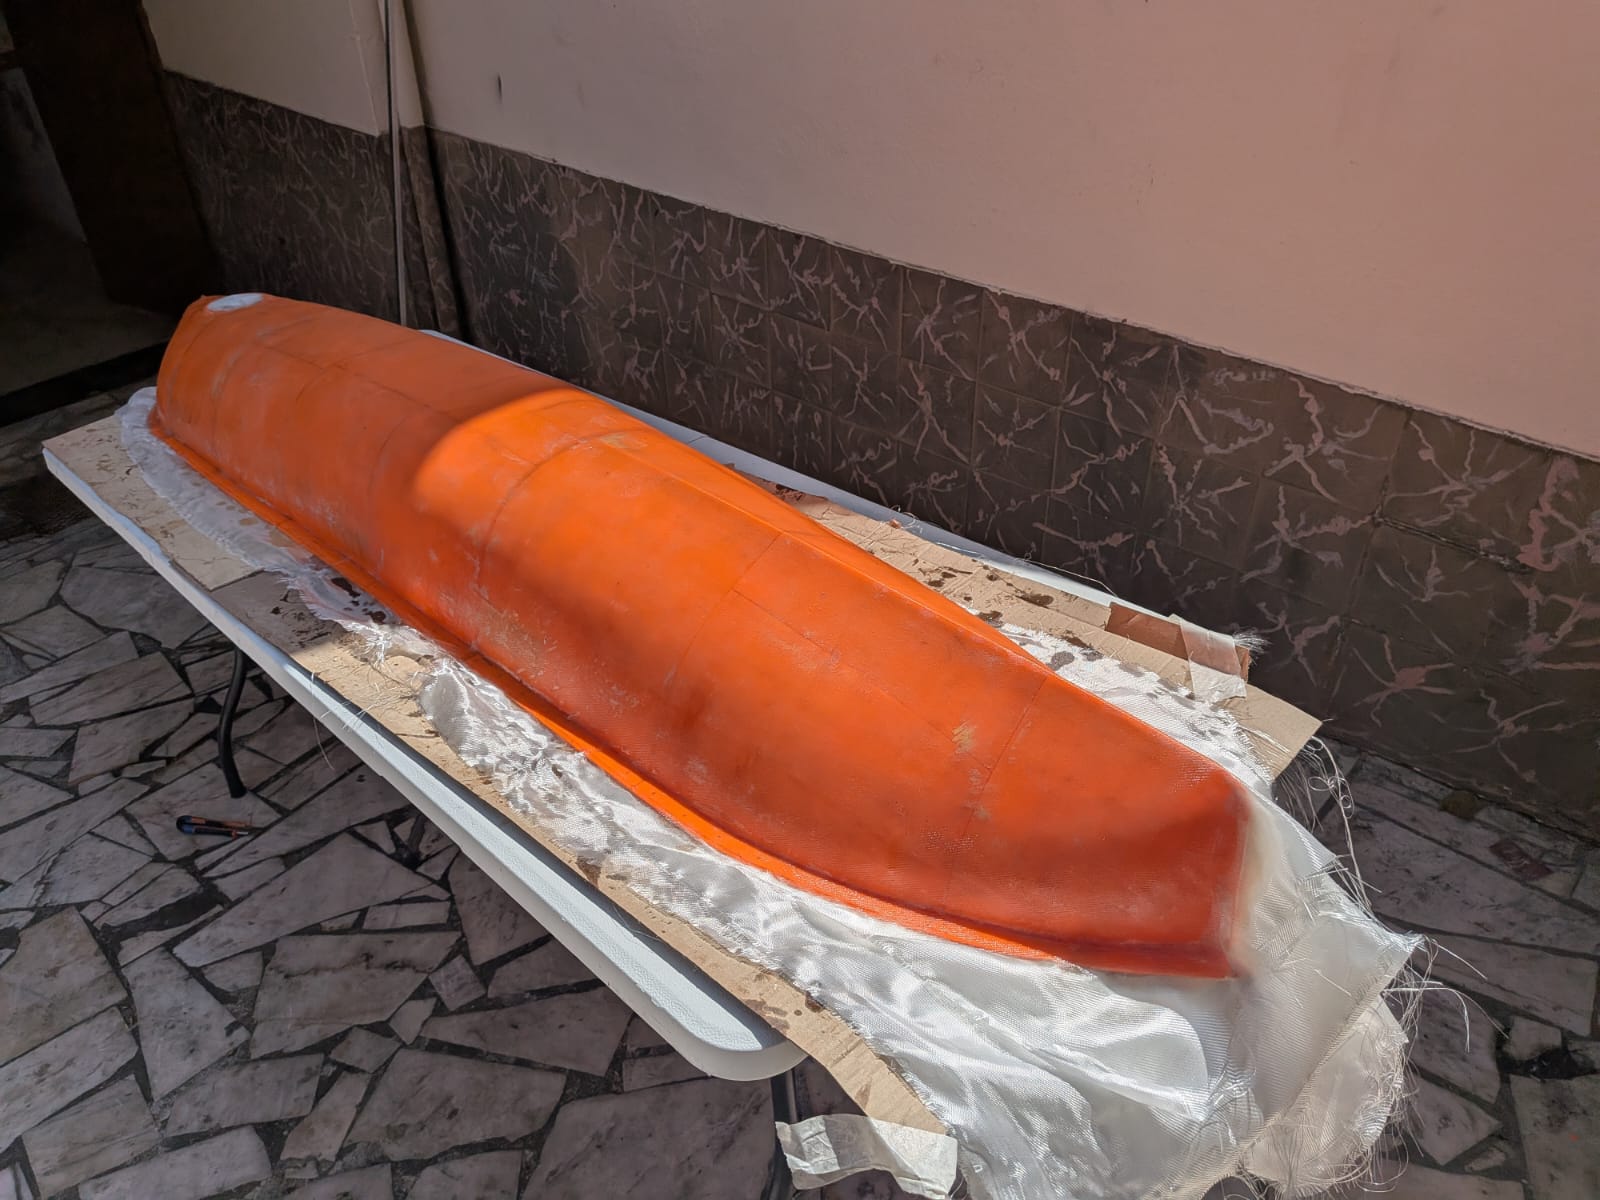
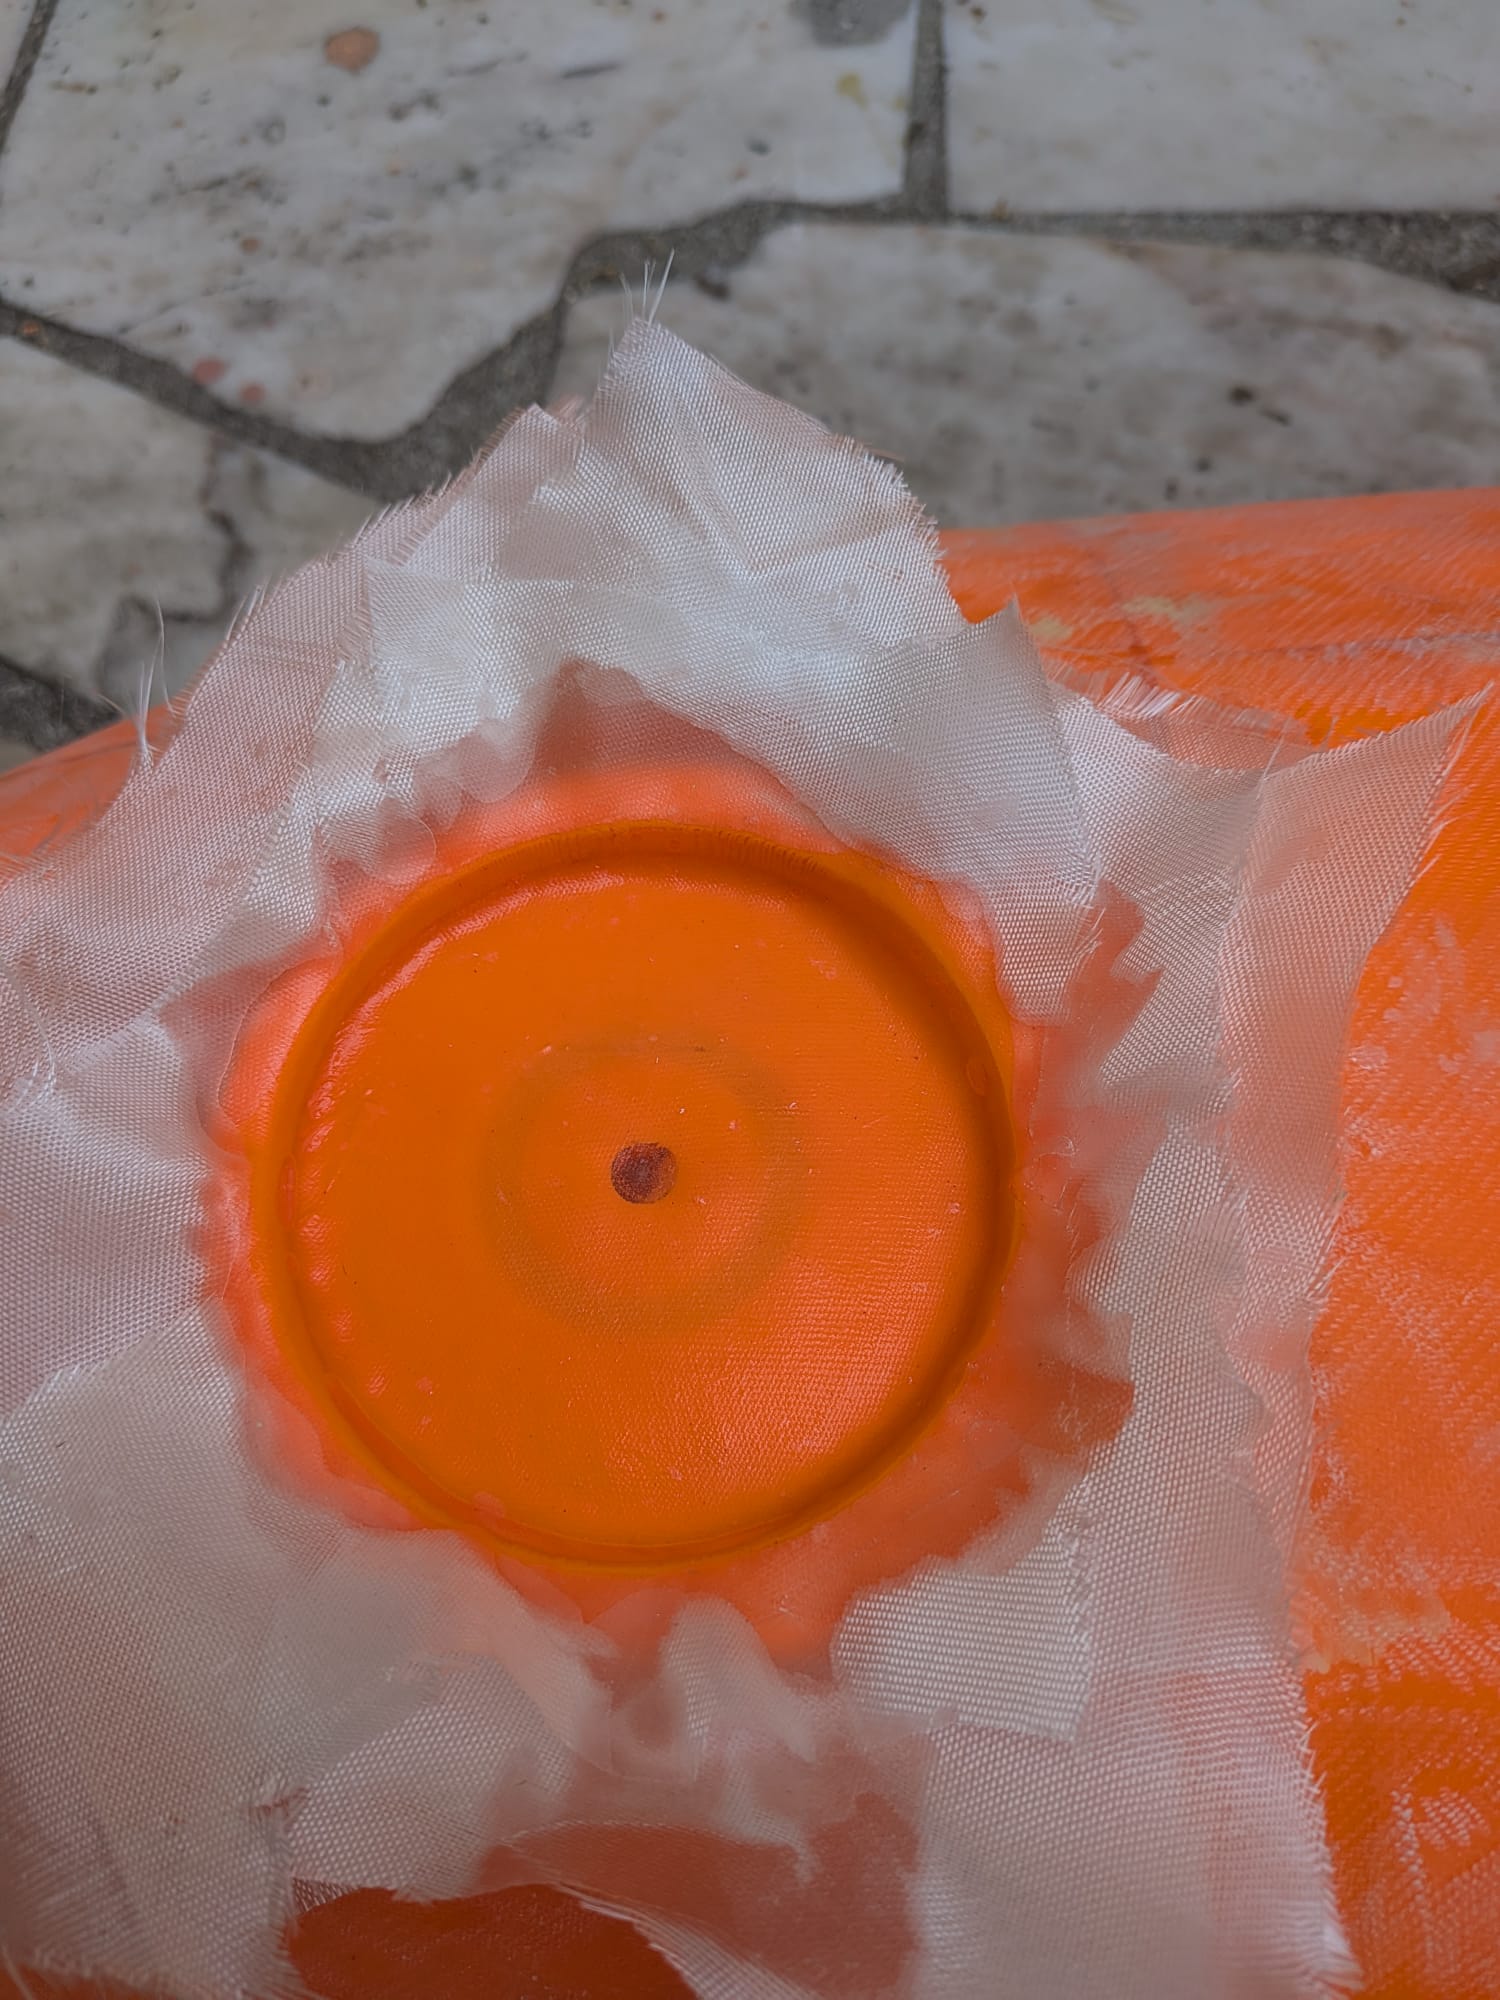
Laying the fiberglass, the longest day of the build
Part 5: Paint
The last step was three coats of two component polyurethane enamel. Right now the hull is white. The plan is to add more coats and take it to navy blue, leaving the sail and the deck white.

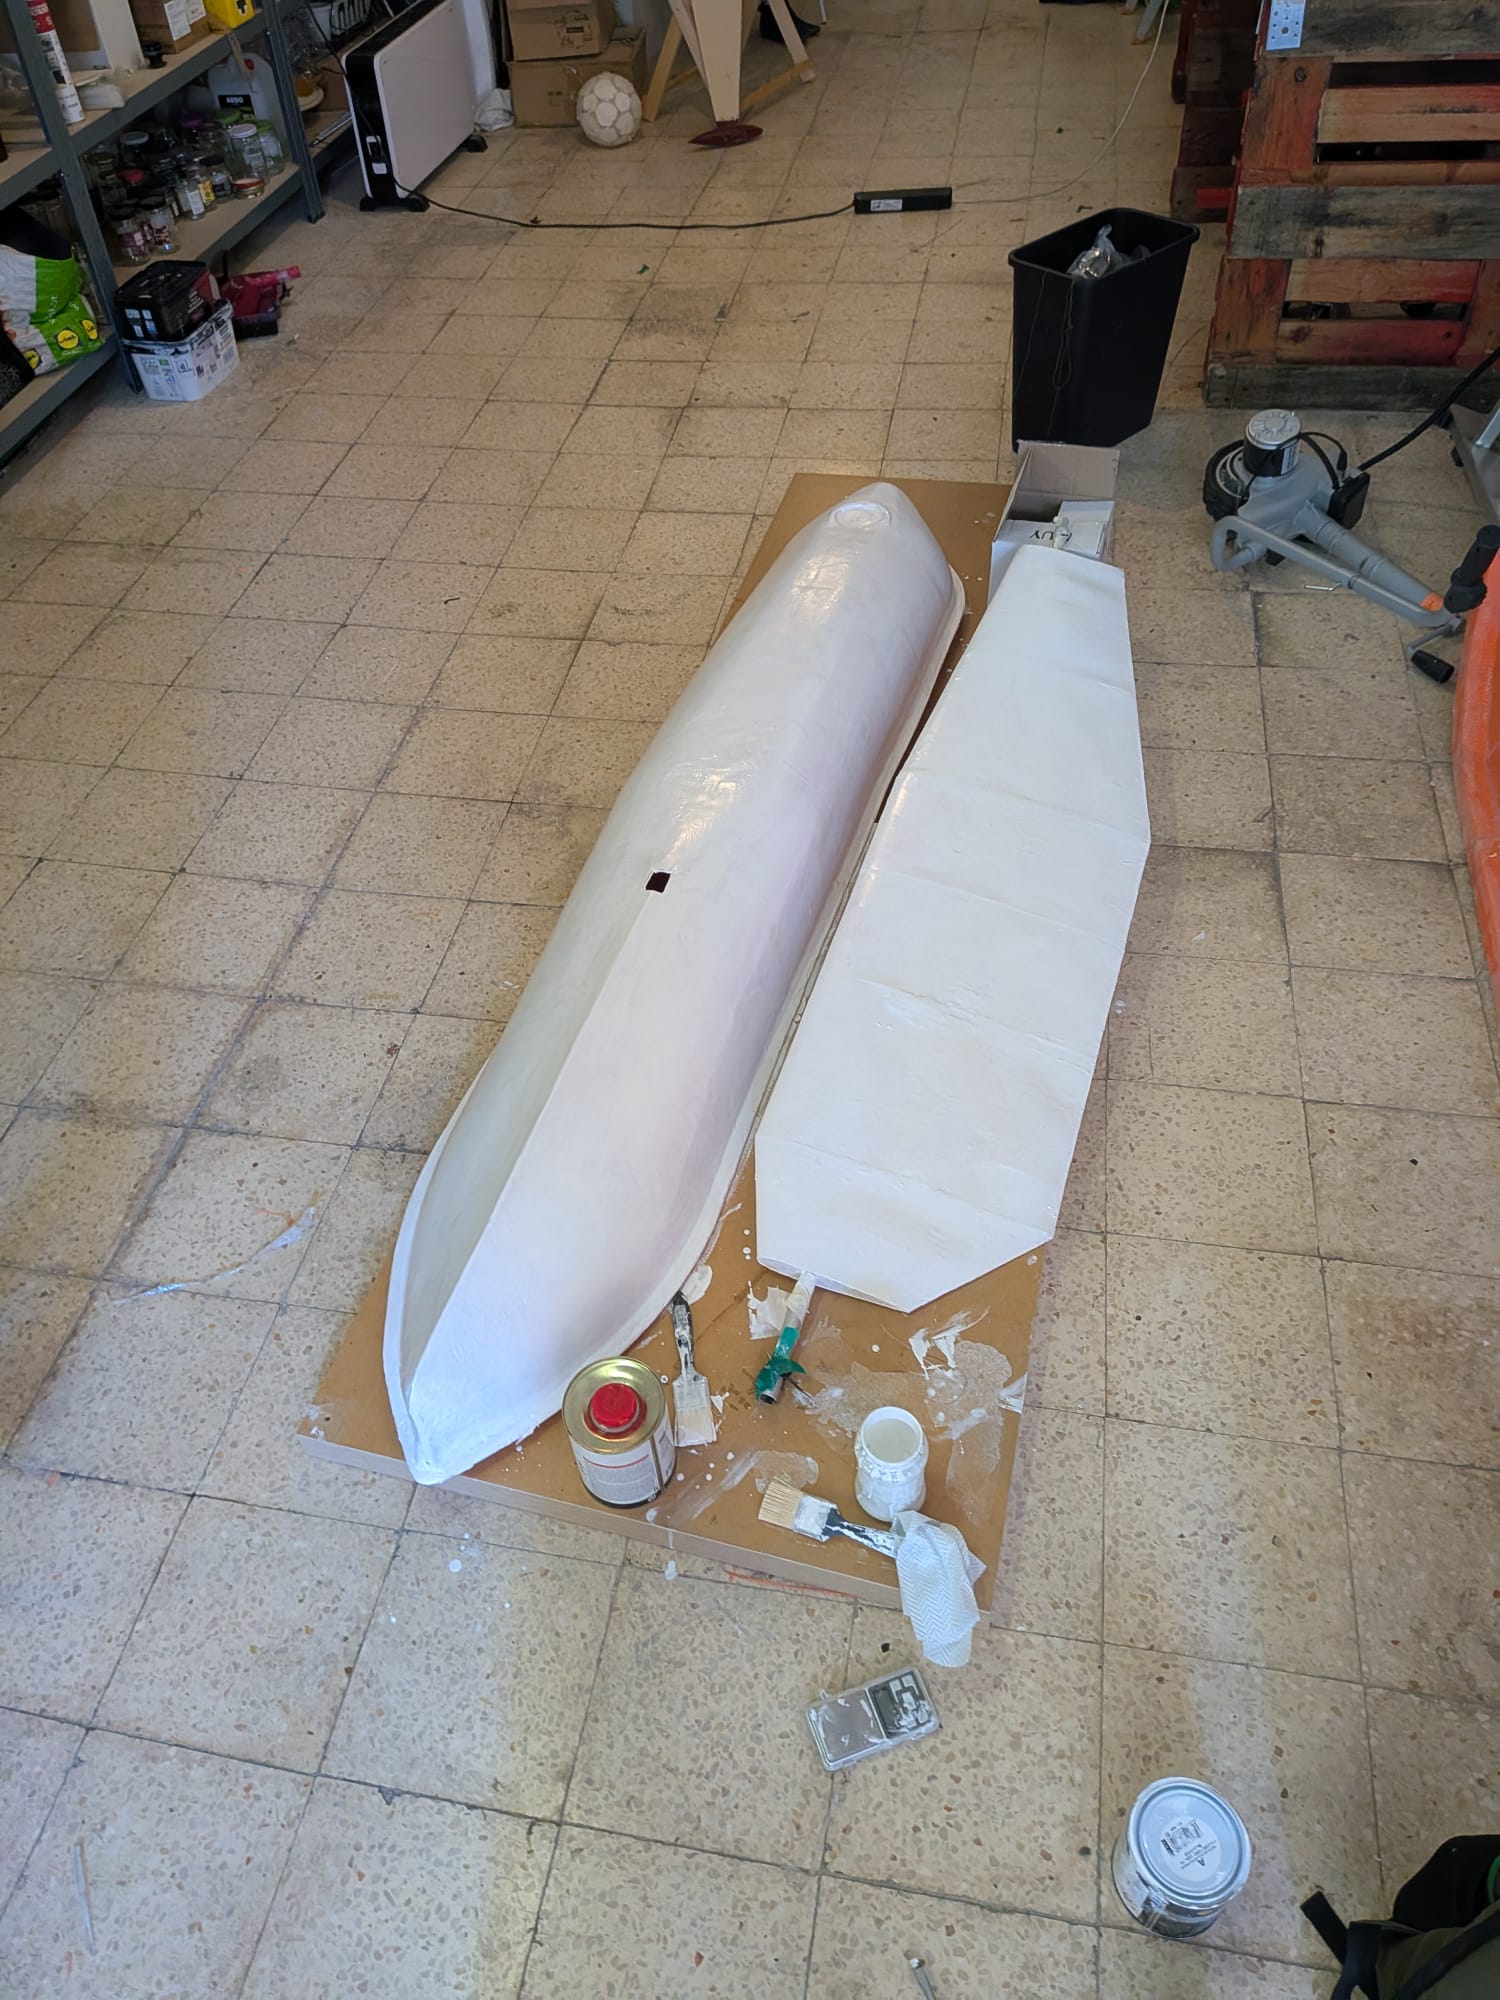
The finished hull in white, navy blue still to come
Where the numbers landed
The finished hull weighs around 7 kg. The boat has 105 litres of buoyancy, so that leaves a large margin for the keel, ballast, rig and electronics still to come. For a hull built from printed plastic and hand laid glass, I am happy with that.
Thank You Prusa
Thanks to Prusa for sponsoring SailOne with the Core One L printer and the Prusament filament used for this hull. It made this part of the build possible.
Get Involved
Whether you offer technical advice, sponsorship, or just want to ask a question, please don't hesitate to get in touch. Project updates are publicly available at sailone.org.